Dutch braids give a stylish, dimensional twist to classic braids without being overly complicated. The main difference is crossing the strands underneath instead of over like a French braid. This creates that distinct raised look.
Despite the name, these braids work for all hair types and textures, not just Dutch heritage. They're versatile - you can wear them sideways, incorporate bangs, or braid them straight back.
Before braiding, get your hair in good shape with a nourishing shampoo. Frizzy, damaged hair makes braiding tough. Also prep your scalp since braids involve some pulling. With hair and scalp prepped, you're ready to go! The under-crossing technique is straightforward once you get the hang of it.
Dutch braids make an eye-catching style that's not as intricate as they appear. With some simple tricks and tips, you'll have this fresh braid look mastered in no time!
Key Takeaways
-
Dutch braids are braids where you cross the hair under instead of over - giving them that cute raised look.
-
They work great for all hair types and textures, from straight to super curly.
-
Dutch braiding is fantastic for protecting your hair and creating pretty waves overnight.
-
To get started, you just need some basic tools like a brush, hair ties, and maybe some styling products.
-
Prepping your hair by detangling and separating sections makes the braiding process way easier.
-
Incorporating seamless extensions lets you rock fuller, longer Dutch braids no matter your natural hair length.
-
There are so many fun styles you can do - double braids, crowns, bubbles, and more.
-
The under-crossing technique is simple, you'll get the hang of it quickly with a little practice.
What is a Dutch Braid?
The Dutch braid technique involves crossing the hair under the sections, instead of over like a regular braid. This inverted style is sometimes called a reverse braid.
This braided hairstyle works well for all different hair types. Those with straight or wavy hair can wear it overnight to wake up with pretty, wearable braids in the morning. For people with curly hair, this braid style serves as a great protective style that you can pair with a nourishing hair treatment or oil.
While Dutch braids look beautiful on dry hair, you can also do them on wet or damp hair before bed. That way, when you take the braids out in the morning, you'll have lovely, bouncy waves.
The details of Dutch braiding involve separate extensions pieces as you braid down. No matter your hair texture, this reverse braiding technique is very versatile. It provides a fun, stylish look while also helping hair stay neat and tamed. Plus, it's perfect for both daytime wear or as an overnight style for gorgeous, effortless waves the next day.
What You'll Need
Having the right tools makes the Dutch braiding with hair extensions process much easier. Gather these tools before starting:
-
Hair gel or pomade- Helps smooth down flyaways and gives hold to the braid
-
Edge control- Allows you to slick down and style the hairline/baby hairs neatly
-
Detangler- Helps remove knots and tangles before braiding for a smooth finish
-
Clear hair ties- Used to secure and tie off the ends of the braid
-
Rat tail comb- The thin, precise teeth help section and part the hair cleanly
-
Detangling brush- Brushes through hair thoroughly before braiding
-
Anti-frizz serum- Adds sleekness and controls frizz for a polished Dutch braid
Prep Your Hair
Before we dive into the braiding steps, it's a good idea to have everything prepped and ready to go. This will really help the final braid look neat and polished. Start with freshly washed hair. Get all that dirt, oil, and product buildup off your scalp. Working with clean hair, or hair that's just one day old, is best because the braid will hold its shape better and your hair texture will look amazing too.
Once your hair is washed, let it air dry fully. Don't use any creams, oils or heavy conditioner - that can make braiding tricky later on. While your hair is drying, take some time to get your extensions untangled and smooth. Give them a good brushing to work out any knots or snarls. You can also get the wefts you'll be using organized and ready.

Section and Clip Hair
Sectioning off your hair before adding extensions for a Dutch braid takes a bit of patience.
First, you'll want to make a horizontal parting from ear-to-ear across the back of your head, just above the nape area. Clip up or tie the hair above this parting out of the way. Next, create two sections on either side of your head below this parting - one section behind each ear. These side sections are where you'll begin your Dutch braid and incorporate the extensions.
Take your time clipping in the extension wefts along these side sections, laying them flat against your head before braiding over them. Go slowly to avoid any bumps or unevenness. As you begin your Dutch braid from each side, gently incorporate and braid over the extensions so they seamlessly blend into your natural hair.
If any extension pieces shift out of place or stick out awkwardly, simply remove and reclip them before continuing the braid. The key is laying them flat initially.

Incorporate Dutch Braids With Extensions
-
Prepare hair by applying hair oil to make it sleek and tame flyaways. Don't be afraid to use a good amount of product.
-
Section off hair where you want to add extensions. Make a diagonal part from about halfway up the side of your head down towards the nape of your neck.
-
Clip away the top section of hair above this diagonal part.
-
Apply three strands -clip weft extensions upside down along the diagonal parting, with the clips facing downwards. This allows the extensions to lay flat as you braid upwards.
-
Towards the top of the section, clip in a 2-clip weft flat against your head like normal extensions.
-
Unclip the top section and start your Dutch braid, incorporating the extension pieces by braiding over them as you go.
-
Keep the braid tight and lie flat against your head by keeping your upper hand high.
-
Braid down incorporating all hair, making sure to grab and pull the extension pieces as you braid over them so they blend in seamlessly.
-
Repeat the same process on the other side to create two Dutch braids.
-
Finish with a firm hold hairspray to tame any flyaways and keep the style in place.
Hair Styles You Can Do with Dutch Braids

Dutch braids are a hairstyle where three sections of hair are woven under each other, creating a raised, 3D braid pattern. They work for all hair types, occasions and even whatever you'e wearing. Popular Dutch braid styles include:
-
Low Bun: Part your hair into four sections. Dutch braid each of the four sections. Then gather all the braids at the nape of your neck and tie them together into a low bun.
-
Pigtails: Make a Dutch braid on one side of your head, and another matching Dutch braid on the other side, leaving the ends loose and unbraided for a boho look.
-
Deep Side Part: Instead of a middle part, deeply part your hair to one side. Then Dutch braid the hair on the deeper side, following the new part line.
-
Bubble Braid: First, Dutch braid a section at the front of your hair. Next, gather the rest of your hair into a high ponytail and create the trendy bubble look. Combines the two styles.
-
Classic: Your basic, single Dutch braid looks great on everyone and is a never-fail style.
-
Multi-Braid: Rather than just one, braid your entire head of hair into multiple Dutch braids all over for an intricate woven pattern.
-
Half-Up Half-Down: Dutch braid the top half of your hair, leaving the bottom half loose and unbraided. Works for casual or formal.
-
Bejeweled Cornrows: Cornrows are very tight, flat Dutch braids. Accent them with beads or wire woven in for a decorated, glamorous style.
-
Crossover Braids: Braid a Dutch braid on each side, then cross and connect the two braids together at the nape of your neck.
-
Crown Braid: Continuously Dutch braid hair in a circular pattern to create a braided crown or wreath around your head.
-
Side Braid: A simple, single Dutch braid worn low and swept over to one side of your face or shoulder.
-
Baby braids are tiny, miniature Dutch braids created by braiding very thin sections of hair close to the face or scalp on shorter hairstyles. To do them, separate small 1-2 inch sections of hair and Dutch braid each one until the ends.
Finally
Dutch braids are a stylish, dimensional braid style that works for everyone. By crossing the strands underneath, you get that distinct raised look. While intricate-looking, they're easy to master with practice. If you are not sure where to start go watch a video tutorial for you to see the method in creating dutch braids.
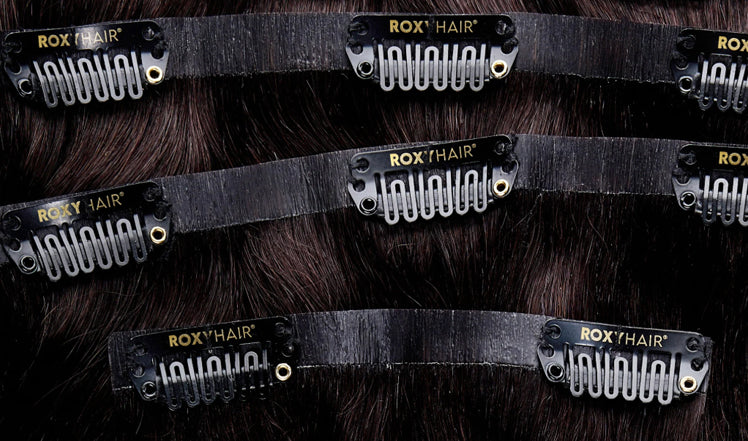
The best way to rock Dutch braids? With seamless Foxy Hair® clip-in extensions! Our wefts blend perfectly, allowing you to braid with gorgeous, fuller hair.
This is your sign to give Dutch braids with Foxy Hair® extensions a try! Check out our collections today!
Frequently Asked Questions (FAQs)
What's the difference between Dutch and French braids?
Dutch braids cross the strands under instead of over, giving them a raised look on top.
Can I do Dutch braids on thin or short hair?
Yes, using extensions allows you to easily create full, long Dutch braids even with thin or shorter hair.
How long do Dutch braids last?
With a good hairspray and protecting them at night, Dutch braids can last around 3-5 days before needing to be redone.
Are Dutch braids difficult to learn?
Not really, the underlapping technique becomes straightforward with a little practice.
What hair extensions work best?
Seamless clip-in wefts like Foxy Hair lay flat against your head for blended, natural-looking Dutch braids.