Have you every wondered how celebrities and models change their your look without having to be stuck with a permanent or drastic hair transformation? Clip-in hair extensions are the secret weapon they use for their hair transformations that you see everywhere these days. Not only can they add length and volume to your hair but they can allow you to experiment with different hairstyles and colors without causing any damage. Now, let's explore how to install clip in hair extensions and style this very popular trend like a pro (as you would do with your hairstylist in a salon).
Key Takeaways
- Prepare your hair and extensions for a successful install
- Organise your wefts by size to create even distribution
- Customize the placement by using blending techniques and heat styling to achieve a natural look
Preparing Your Hair and Extensions

Before installing your clip in hair extensions, it's vital to prepare both your hair and extensions for a successful outcome. This includes cleaning and drying your natural locks, organizing your wefts by size and choosing the correct color and texture that complements your existing tresses (volume and length). A lot of people think this is not important and as a result don't achieve the desired result.
Clean and Dry Your Hair
Before installing your new clip in extensions, it's crucial to ensure they're clean and dry. If possible, use some sulfate free shampoo and conditioner and then air dry them using a hairdryer set between 250 to 350 degrees Fahrenheit. It's best to use a boar bristle brush or a detangle brush with great care when styling so you can ensure all knots are eliminated before starting the extension process itself.
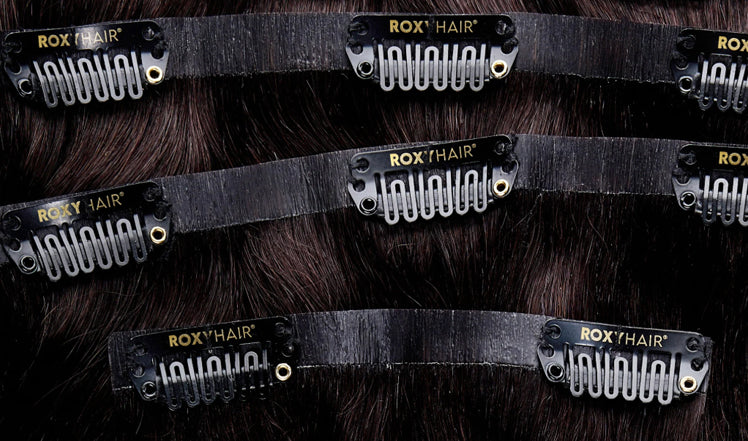
Organize Your Wefts by Size
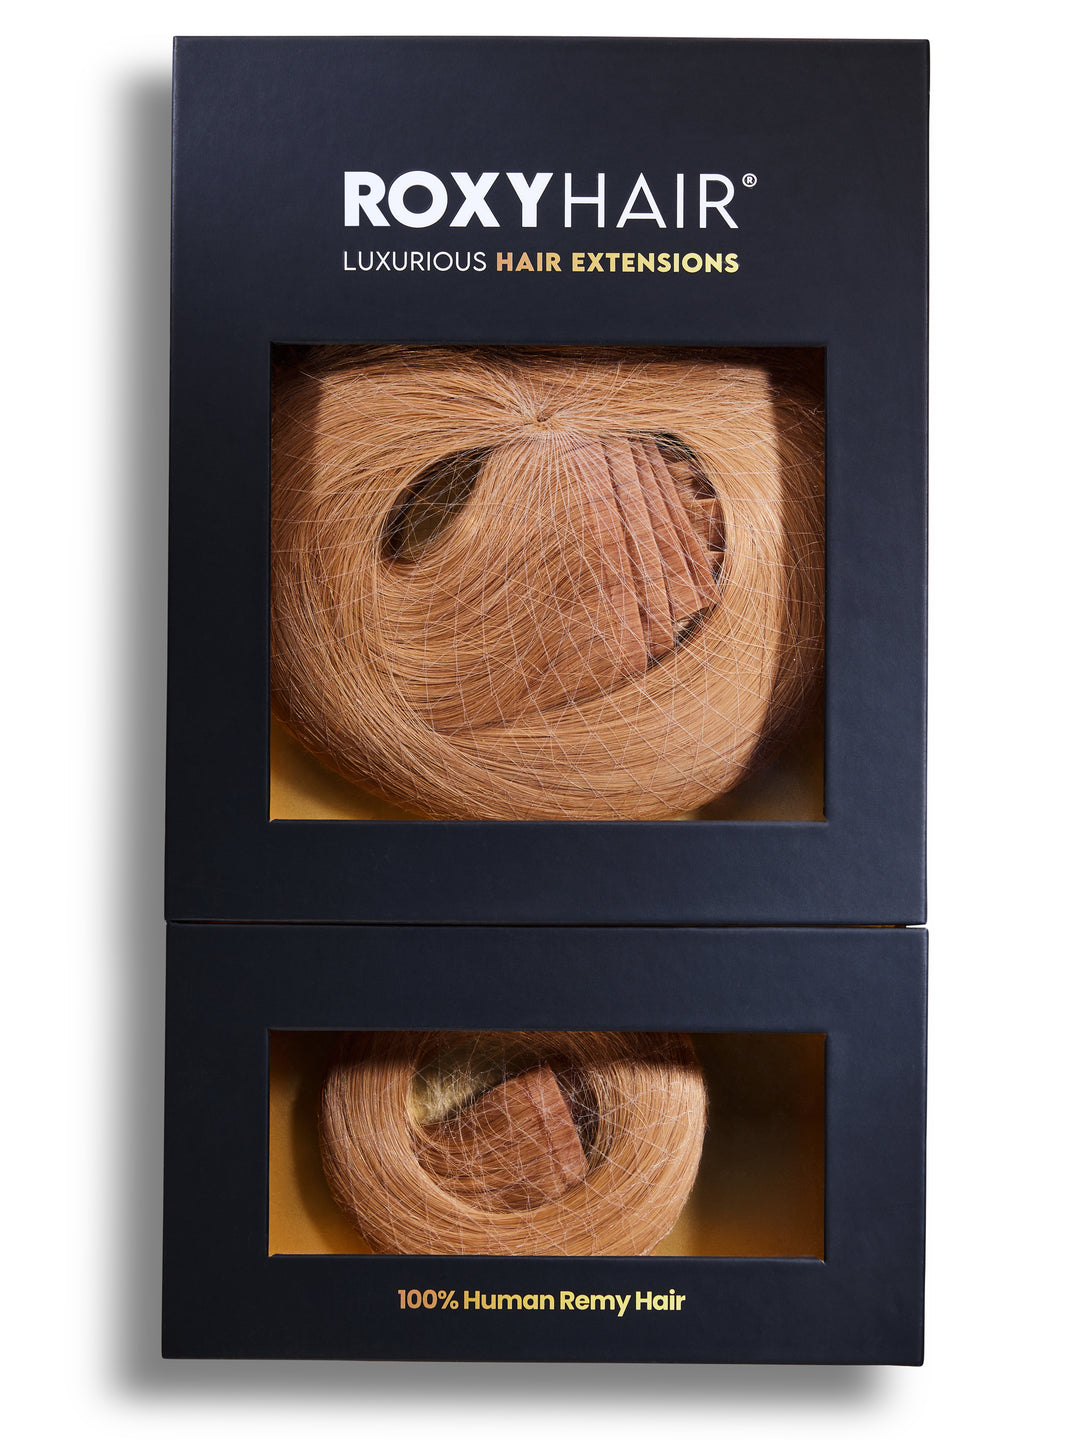
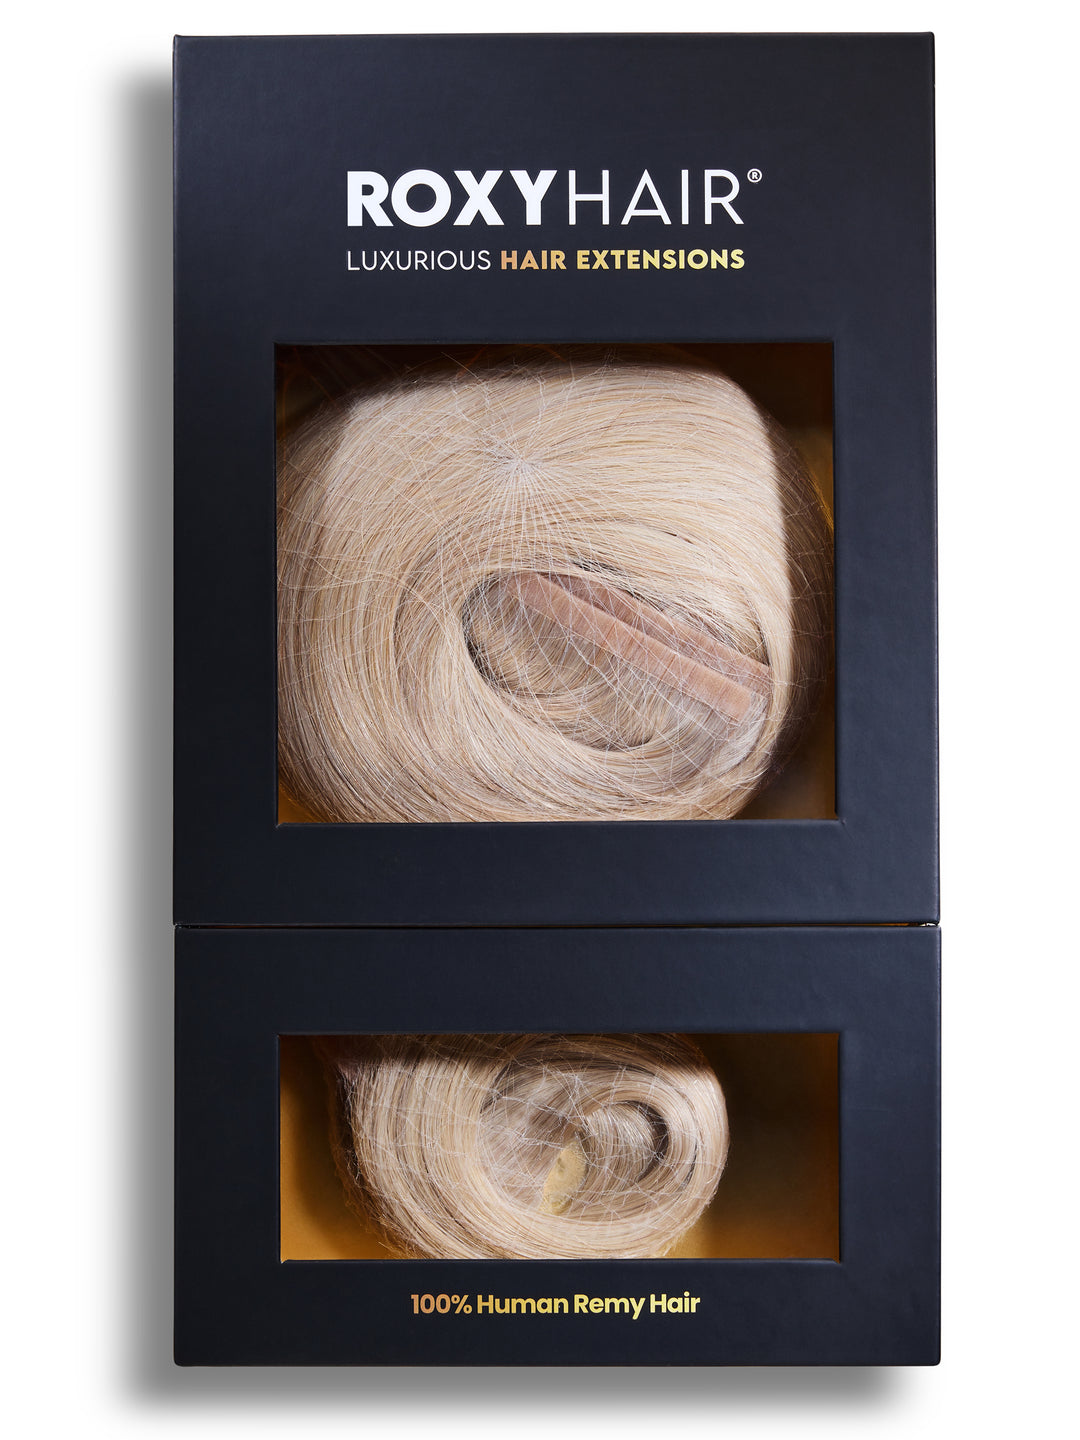
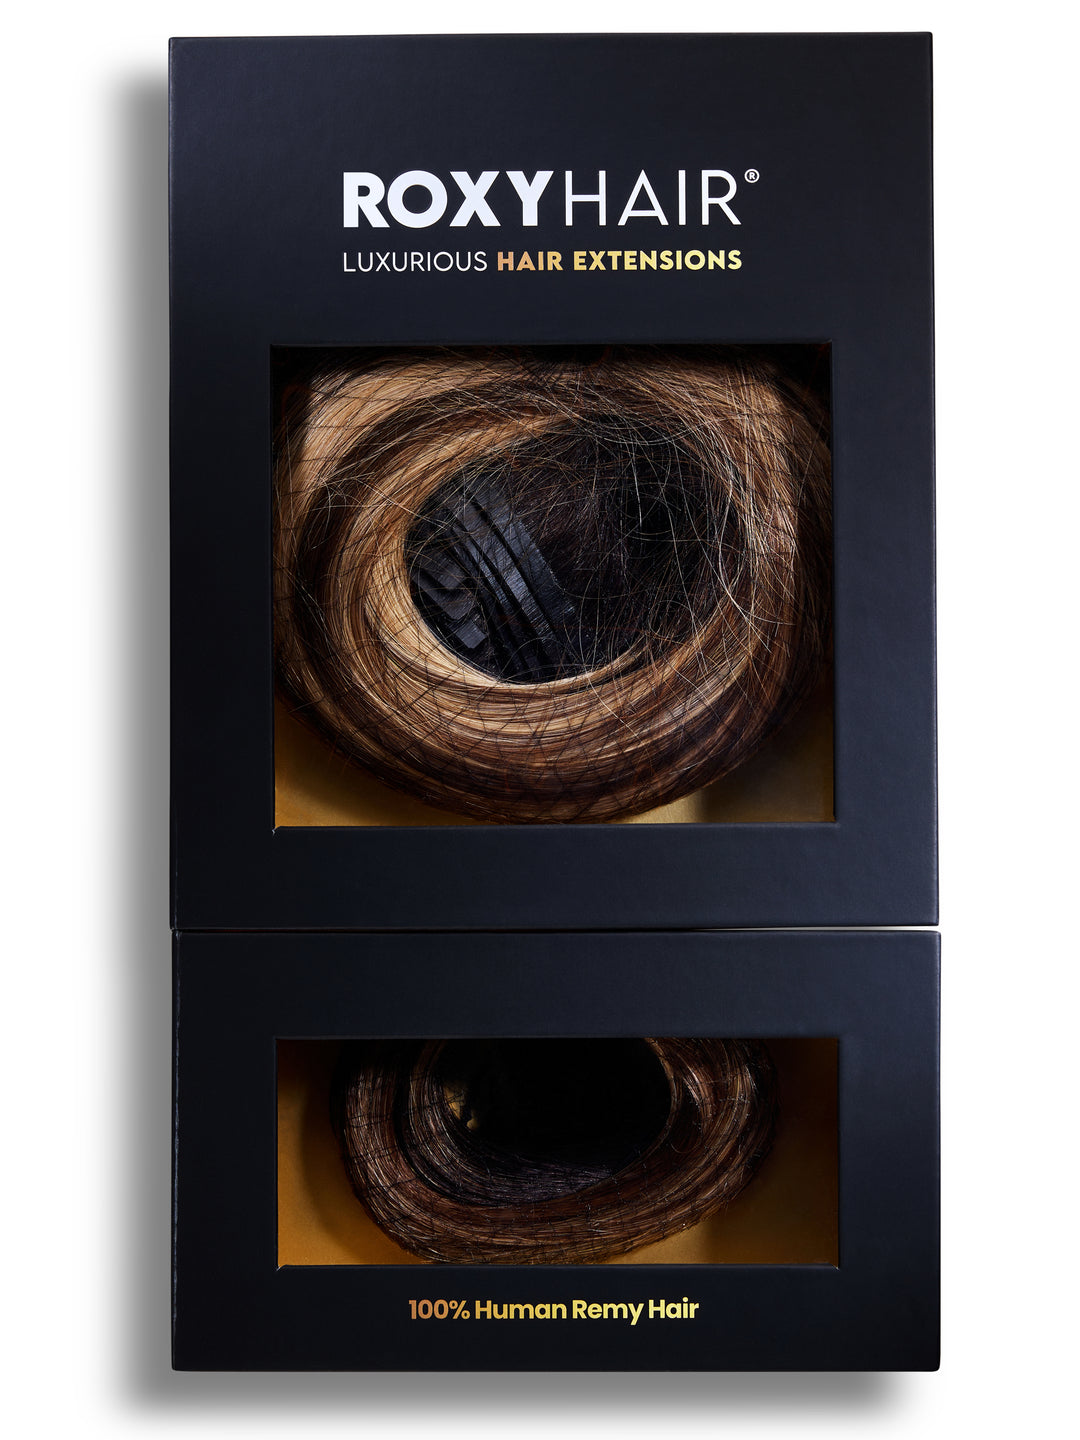
Before starting the installation, it's best to arrange the hair wefts by size (on your bed or dressing table). These are the sections of human Remy hair joined at the top and can be between 1.5 inches to 6 inches wide (with clips in the centre). By arranging the strips by their width will allow your to evenly distribute them through your natural hair as well as create levels of thickness where required. The smaller pieces boost volume while the bigger wefts add length and body overall to your hairstyle, which when done correctly ensures they're installed evenly without any gaps or unevenness.
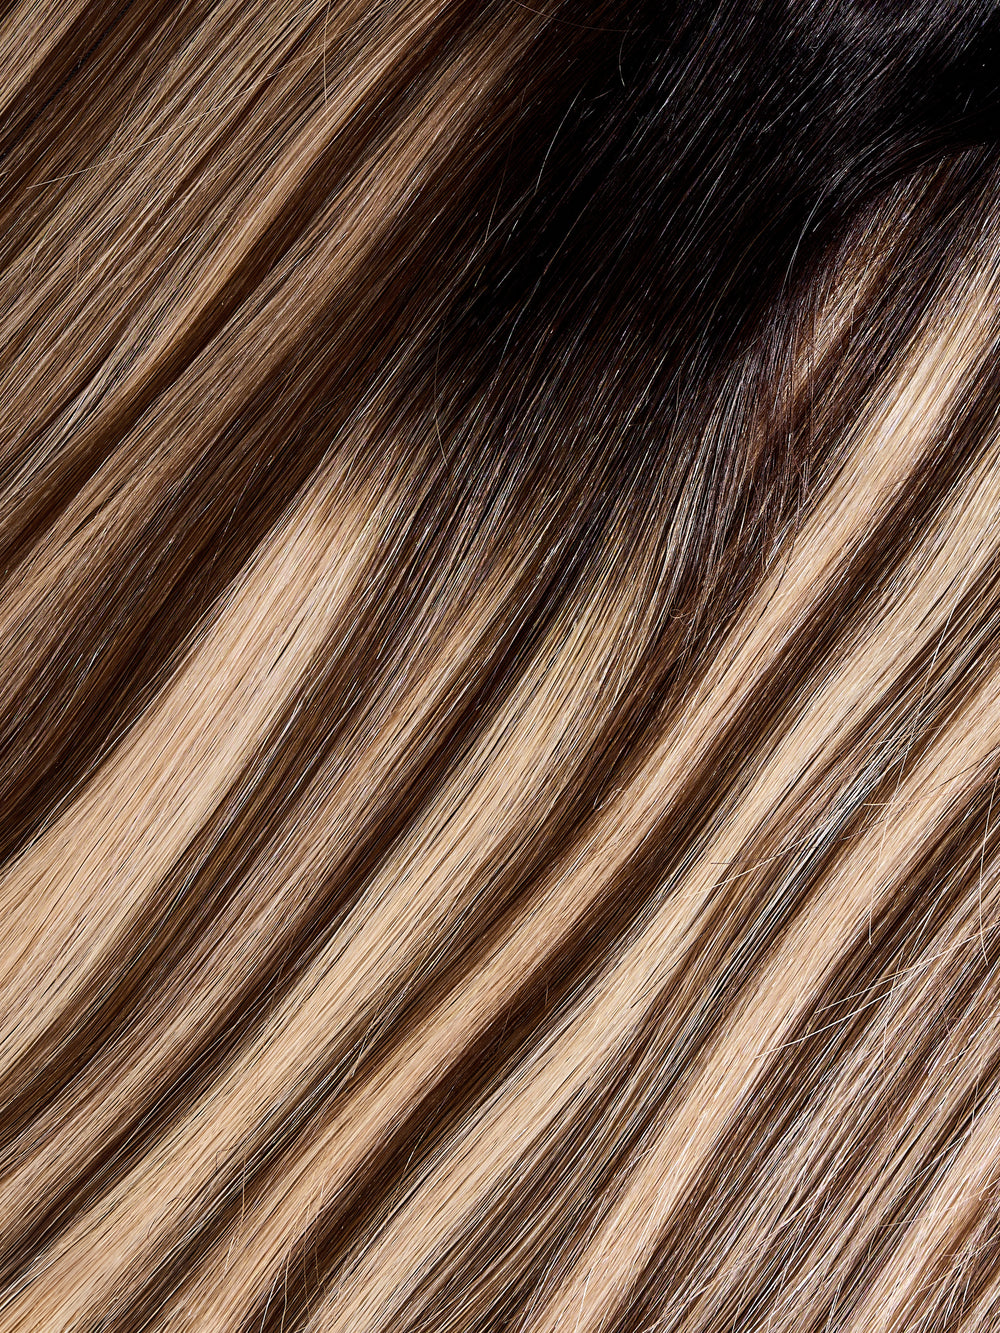
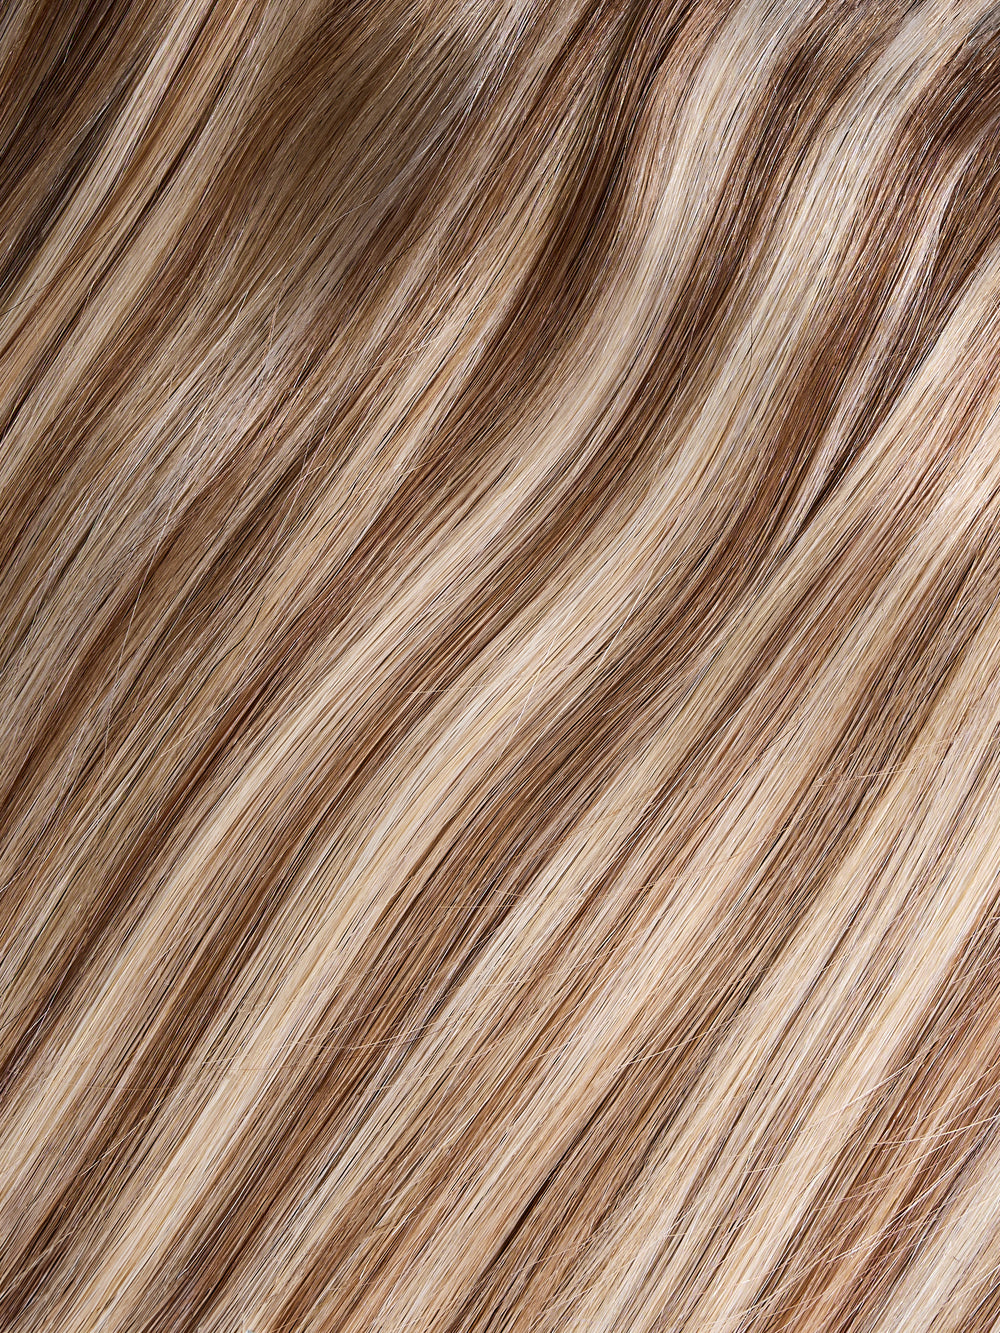
Choose the Right Color and Texture
To achieve a natural look and for your hair extensions to blend in well with your hair, you must select the right hair color and texture for your clip-in extensions (that match perfectly with your own hair). When selecting your shade color, analyze how it appears in natural light (without any filters) and then compare it against the lower part of your hair. This will ensure that any new hue blends nicely with our complexion as well.
In regards to hair textures, if you have enough length on top, make sure they're are an exact replica of what is already there (straight, curly, body wave, etc). The good news is whatever type of locks you have, extension textures come in all sorts, which include straight strands, deep waves and even defined curls.
Step-by-Step Installation Process
The installation process of clip-in extensions is quite easy and straight forward - so many of our customers have used this guide to help them. Whether you're new and first time you've bought clip-in hair extensions or experienced, the following steps will help you in successfully installing your hair extensions as required. Hair preparation is key along with attaching the wefts with the utmost accuracy, which can be achieved by using these simple tips for achieving brilliant results.
Parting and Teasing Your Hair
Creating a secure grip for your hair extensions is very important and it's best to use tools like sectioning clips and teasing brushes to tease the strands before attaching your extensions. You may need to adjust it slightly depending how thick or textured your natural hair is.
Installing the First 2-Clip Weft
The clip-in weft needs to be attached to the nape of your neck, using a rat tail comb with clips alongside a brush. To ensure your clips are fitted effectively, first use a smooth base by thoroughly brushing or combing near the roots beginning from the right side of your hairline onwards towards the back of your head. Once properly in place, the clips need to be close to your scalp before closing each individual hair clip securely.
Adding Additional Wefts for Volume and Length
To get your desired volume and length, secure the first weft in place and then attach a 4-clip piece by backcombing at the roots. Secure the middle clips before placing the side pieces to create an even and more voluminous look. To get the best and natural results, measure the clip in hair extensions against your head horizontally from your ear to the temple area (close to the roots). For more fullness, several pack of Remy human hair may be necessary.
Customizing Placement for Different Hair Types
Due to the uniqueness of each person's hair, custom installation and styling is essential when using clip-in hair extensions. For to determine how you secure these additional wefts into place depends on whether you have thin, short or curly hair. To further enhance your look, you can explore several tips for different hair types along with aways to create a unique sexy style with your tresses!
By addressing what kind of style works best for you depends on the type of strands you have, such as long or wavy.
Thin Hair Tips
Adding volume to thin hair can be done by placing the clips lower than the crown, above the temples and behind your ears. This will allow you to conceal any short layers, while creating a more natural look. Comfort should be taken into consideration when placing your clip-in hair extensions and adjusting their position may help in spreading out the pressure on your wefts, which are often caused by securing them too tight in place with hairspray. If you're looking for thinner options of hair extensions that provide an effortless appearance, hand tied halo or tape-in ones would work best.
Short Hair Solutions
If you have short hair, mixing in extensions can be difficult but still is achievable. Real Remy human hair is the best form of hair extensions and recommended as it blends nicely into the natural tresses. If you have short hair, try placing a two-clip weft 2 inches away from your forehead's border followed by another piece closer to the nape of your neck. This will provide an unnoticeable transition between existing locks and additions. Other techniques, such as dividing at the occipital area (back of head) then fastening up top strands before clipping on sections also helps achieve flawless looks when working with shorter hair lengths.
Curly Hair Considerations
It is vital for those with curly hair to get extensions that match their natural texture. Thus, clip-in and weft sew-ins are excellent choices as they blend in nicely with the curls. To put on clip in extensions properly, always partition your hair into smaller sections and then open the clips of extensions close to scalp under a chunk of strands from one section then snap it shut firmly. This needs to be repeated for each piece and then finally use a comb to carefully and softly combine your hair and the extensions together.
Blending and Styling Your Clip-In Extensions

Once you have installed your clip in extensions, there are various ways to style them like natural hair. Including brushing and blending techniques as well as using heat. With these simple tricks, it’s easy to create different hairstyles with just a few clips.
Brushing and Blending Techniques
When installing your extensions for a seamless and natural look, be sure to take good care in properly brushing and blending. Firstly, use a comb or brush (with wide-spaced teeth) to gently detangle the extension wefts from your natural hair. This will prevent damage and breakage while allowing you to create an effective protective cushion before attaching them. Consider using texture spray on the Hair as it helps blend both elements together more naturally when angled correctly at the face’s front part. Finally regularly and gently brush your hair with a soft bristled brush, which will prevent tangles whilst leaving your extensions looking in great condition.
Heat Styling and Protecting Your Extensions
Our clip-in extensions are made of 100% Remy human hair and provide you with the assurance that they can be fashioned to any look without having a cause for concern. Thanks to their ability to withstand heat damage when correctly styled using appropriate products and temperature settings (ranging from 120 - 180 degrees Celsius), it’s very common to use your clip in extensions to make multiple hairstyles without any issue. While regular styling is encouraged as part of an effective upkeep routine, you should not heat your hair no more than once a week to minimize the risk of damage.


Creating Various Hairstyles with Clip-Ins
By using hair clips and your blended-in hair extensions, you can create various different looks by being creative, which is the fun part. Ponytails or half-updo styles as well as plaits and knots, these are just some of the options that are available to you from Foxy Hair.
To achieve a high ponytail, start by grooming all your strands and then simple clip in your ponytail. Place the tail high before twisting into a knot, which will need securing with pins. Finish off tugging gently at your bun for added volume enhancement.
As for achieving voluminous half up/half down hairstyle, it's best to separate the sections of your natural hair first and then blend in the any other pieces together. You clip them in place and style the top part separately and lastly secure the sides later too.
Caring for and Maintaining Your Clip-In Extensions

Regular care is needed for your clip-in extensions, just like your natural hair (to make sure they look their best). We’re now going to explain the right way of washing, conditioning and storing your clip in hair extensions so that you can avoid damage or tangles.
Washing and Conditioning
For the best care of your clip in extensions, it is important to wash and condition them every 30 wears or once a month (whichever comes first) with quality products that keep the hair hydrated. It’s also crucial not to apply any kind of conditioner near the bonds or on their roots but only apply from the middle-down. Allow the hair time for drying either naturally dry or use a hairdryer set at low temperature. Just bear in mind never brush when wet since this could cause damage.
Storing Your Extensions
To ensure your clip-in hair extensions stay in great condition, it’s a good idea to store them after each use. Store them away from direct sunlight. The ideal place would be either on hangers or inside boxes kept in a cool and dry location like cabinet drawers or closets. Never vacuum pack these items as they need air circulation for long term maintenance.
Preventing Damage and Tangles
To keep your hair extensions in mint condition, care must be taken to protect the natural hair together with the attachments. Too much tension on your natural hair could cause damage so always ensure the clips are comfortably set. Avoid using heavy oils or greasy products near the roots and it's recommended to use a brush that has bristles made from nature and to brush twice a day.
When combing through your tresses, start with tips first then work up gently separating each weft during this process. You can help smooth out tangles by adding detangling spray prior to commencing any kind of movement about it. By following these steps you’ll have manageable and soft free flowing clip ins without knots all over them.
Troubleshooting Common Clip-In Extension Issues
Caring for your clip-in extensions can come with some troubles, such as showing wefts and clips or having mismatched hair color/texture. Here are solutions to help out along with tips on how to tackle these common issues so you don’t have any discomfort.
Visible Wefts and Clips
Hiding visible wefts and clips can contribute to a neat appearance of your hair. Weave the bottom portion of your locks around the extensions, place them farther down on the head away from natural hairline, wear side-swept styles, which help cover up both add-ons and hide any imperfections with root concealer.
Keeping in mind correct placement is essential to have an overall blending effect between one’s real tresses and added accessories, such as weaves, scrunchies or barrettes will also ensure invisibility. All these techniques may go a long way towards creating seamlessly integrated hairstyles that require minimal effort.
Discomfort and Slippage
When wearing clip-in hair extensions, discomfort and slippage can be issues that many consumers can face. To make the experience more comfortable, we recommend adjusting the positioning of your hair extensions to find a secure fit. Also, using hairspray on natural hair before applying them could create a better grip for attaching the clips in properly. Securing these in firmly while distributing weight evenly along all parts of their length is key too.
For extra grip from sliding with clip-ins, we advise customers to spray up teased sections of your own tresses prior to clipping in each item with good quality hairspray. Beginning at its middle with a bigger one followed by smaller ones as needed until firmness is achieved.
Mismatched Hair Color or Texture
If the color and texture of your extensions don’t match with that of your natural hair, there are several ways to make sure they stay securely in place. To lighten their hue without damaging them, you should do a strand test before applying any bleach or dye on the entire set of extensions. Oil can also help blend everything together and promote a more natural look for your locks. It is important to ensure clips holding those pieces are not damaged, replacing these if necessary at an authorized beauty supply store may be useful as well.
Summary
Installing and styling clip-in hair extensions is a great way to add volume, length or even change your hairstyle without damaging natural hair. With the right preparation techniques and some patience you can achieve an undetectable and a natural blend that looks totally seamless. No one get's it absolutely perfect the first time but after a little practice and trying what works for you, you'll be able to install the hair extensions very easily.
Frequently Asked Questions
How do you put extension clips in your hair?
Secure the strands of hair by using a clip or band. Then, tease the section near your scalp to create some lift. Open up and attach clips to the extensions that you have and click them in place with what was backcombed earlier.
Are clip-ins easy to install?
Installing clip-ins is a simple process and no tools required. Always part your hair horizontally and insert the clips at the roots.
How many clip-ins do I need for a full head?
To achieve a complete appearance, you may need around eight packs of clip-ins if your hair is average thickness. For thicker locks, up to three sets could be required for the desired effect with clips.
How do you put in 7 piece clip in hair extensions?
Installing 7 piece clip in hair extensions is easy. Start with the middle clips and use them to attach the weft, then secure both sides of your own locks so it blends together. All that’s left is teasing out your roots before clipping in each strand of extension hair along either side.
How often should I wash my clip-in hair extensions?
We suggest to clean clip-in hair extensions every 15-20 usages, or whenever there appears to be an excessive accumulation of styling products. Other online retailers recommend to wash your extensions every 30 wears. Washing them is important as it helps maintain their look and quality in the long run.