Braids have been used years ago as a means of communication and cultural expression in many societies around the world. Different braided hairstyles could convey a wealth of information about a person's tribe, social status, age, marital status, religion, and even wealth. Braiding was not just a way to style hair, but also a rich method of storytelling and identity representation within various cultures.
Today, braids still allow us to tap into that expressive tradition while achieving stunning, fuller looks. And with braid-in hair extensions, you can take your hair game to a whole new level. These semi-permanent extensions let you rock gorgeous braided styles with added length and volume, no matter your natural hair type or length.
This guide shows you how to braid in the extensions piece-by-piece for a seamless, undetectable blend. From prepping your natural hair to braiding in the wefts flawlessly and styling your showstopping new mane - plus pro tips to make the braids look natural.
Key Takeaways
-
Braid-in hair extensions are a semi-permanent way to add incredible length, volume, and versatility to your hairstyles.
-
Installing braid-in extensions yourself is easier than it seems - no glue, tape, or complicated tools required.
-
Prepping your natural hair properly by detangling, washing, and drying is crucial for installation.
-
Sectioning your hair neatly into quadrants or boxes is key to creating a tidy braid pattern for installing the wefts.
-
Attaching the weft tracks at the right tension - not too tight or loose - prevents bumps and ensures a flat lay.
-
The "braid and reload" technique secures the wefts neatly while creating a solid base for the braids.
-
Blending the extensions seamlessly involves carefully braiding over the weft tracks at an angle.
-
Styling options for braid-ins are limitless - try braids, curls, updos, or wearing them straight.
-
Proper care like sleeping in a silk bonnet and avoiding heavy products will help extensions last 6-8 weeks.
Choosing the Right Clip in Extensions for Braiding

When it comes to picking clip-in extensions for braids, you want to make sure they blend in seamlessly while they add volume with your natural hair. The key is finding ones that match your hair type, texture, and length - that way, they'll look like they grew right out of your head.
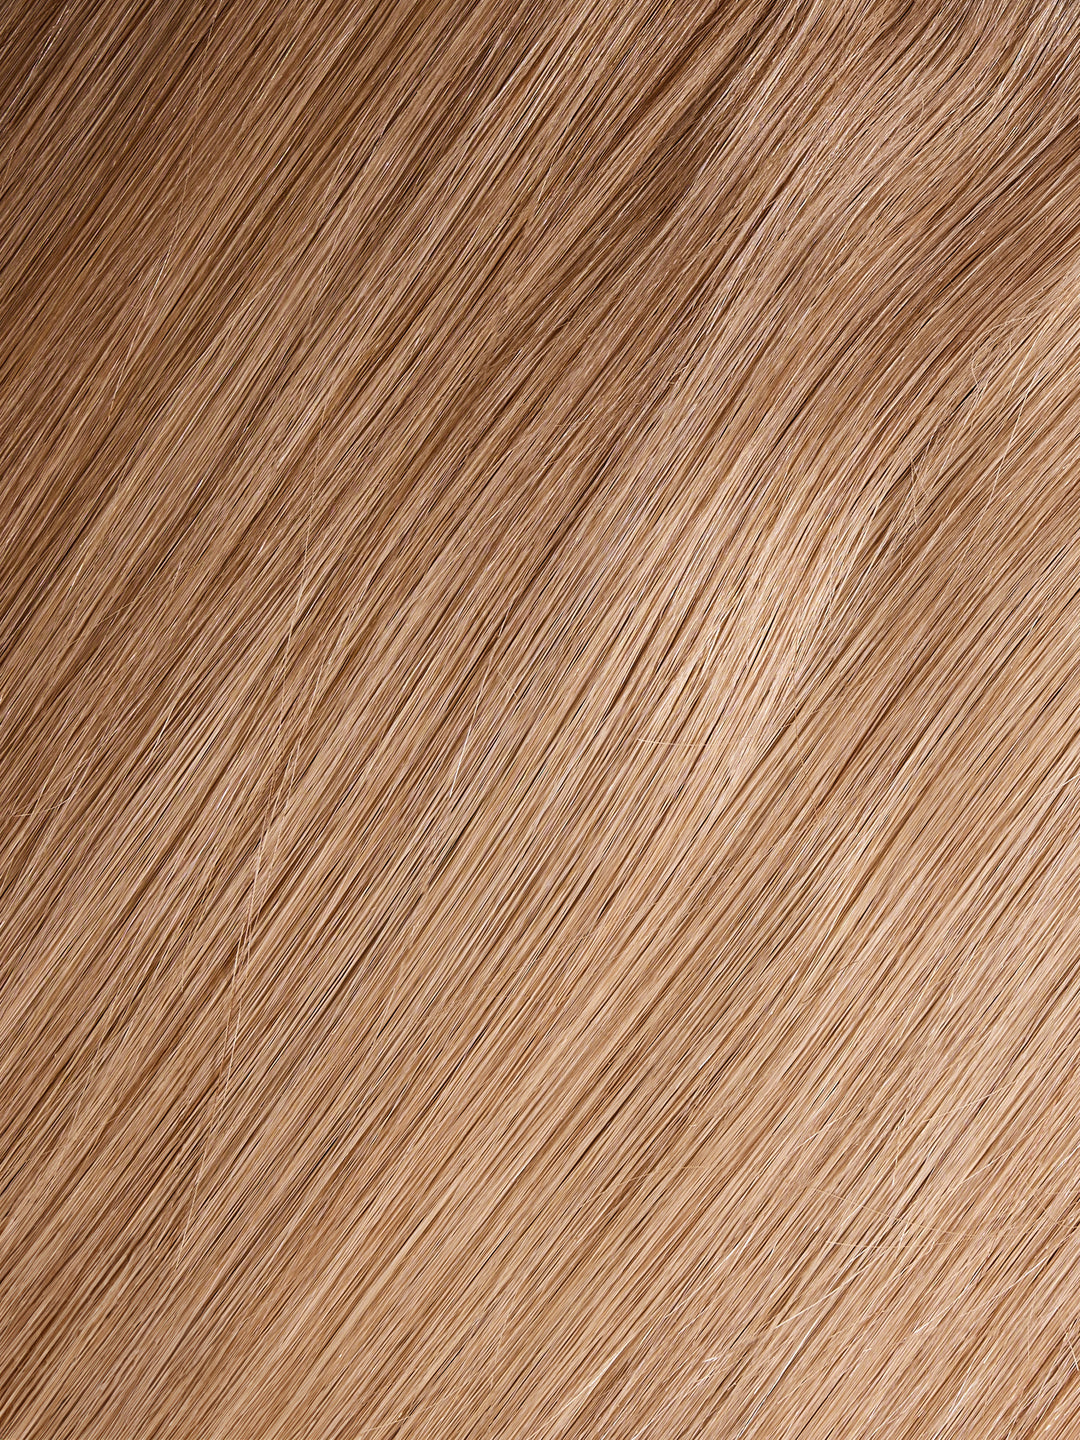
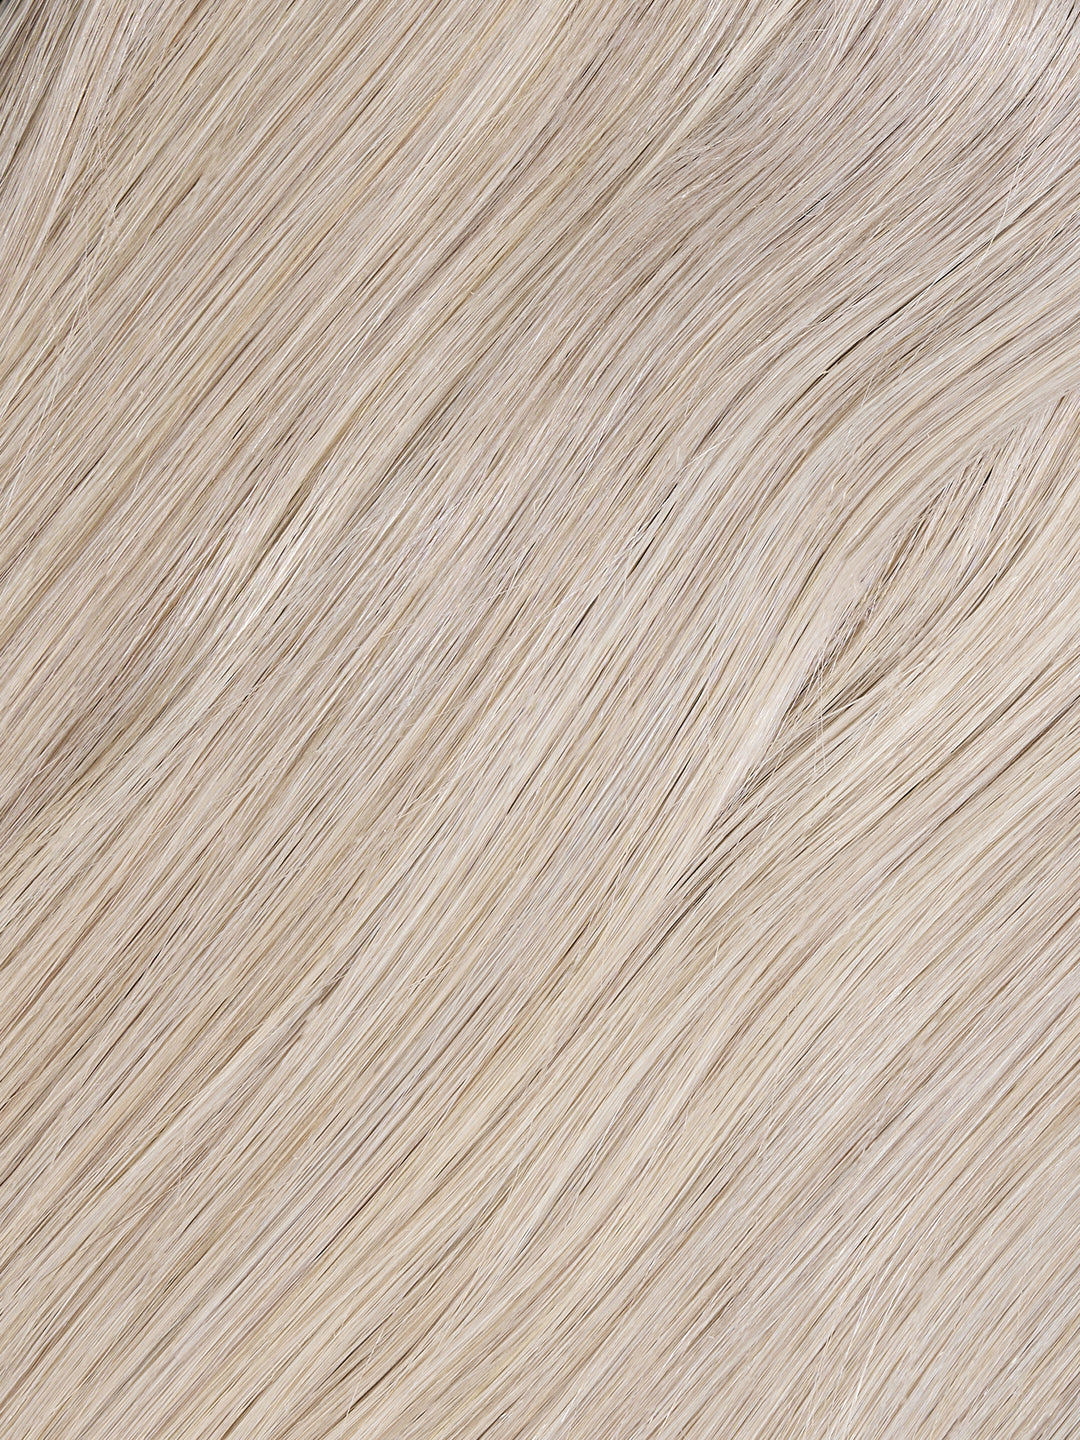
First up, go for high-quality Remy human hair extensions. These give you the most realistic, natural-looking results. We recommend getting our human hair extensions from Foxy Hair®.
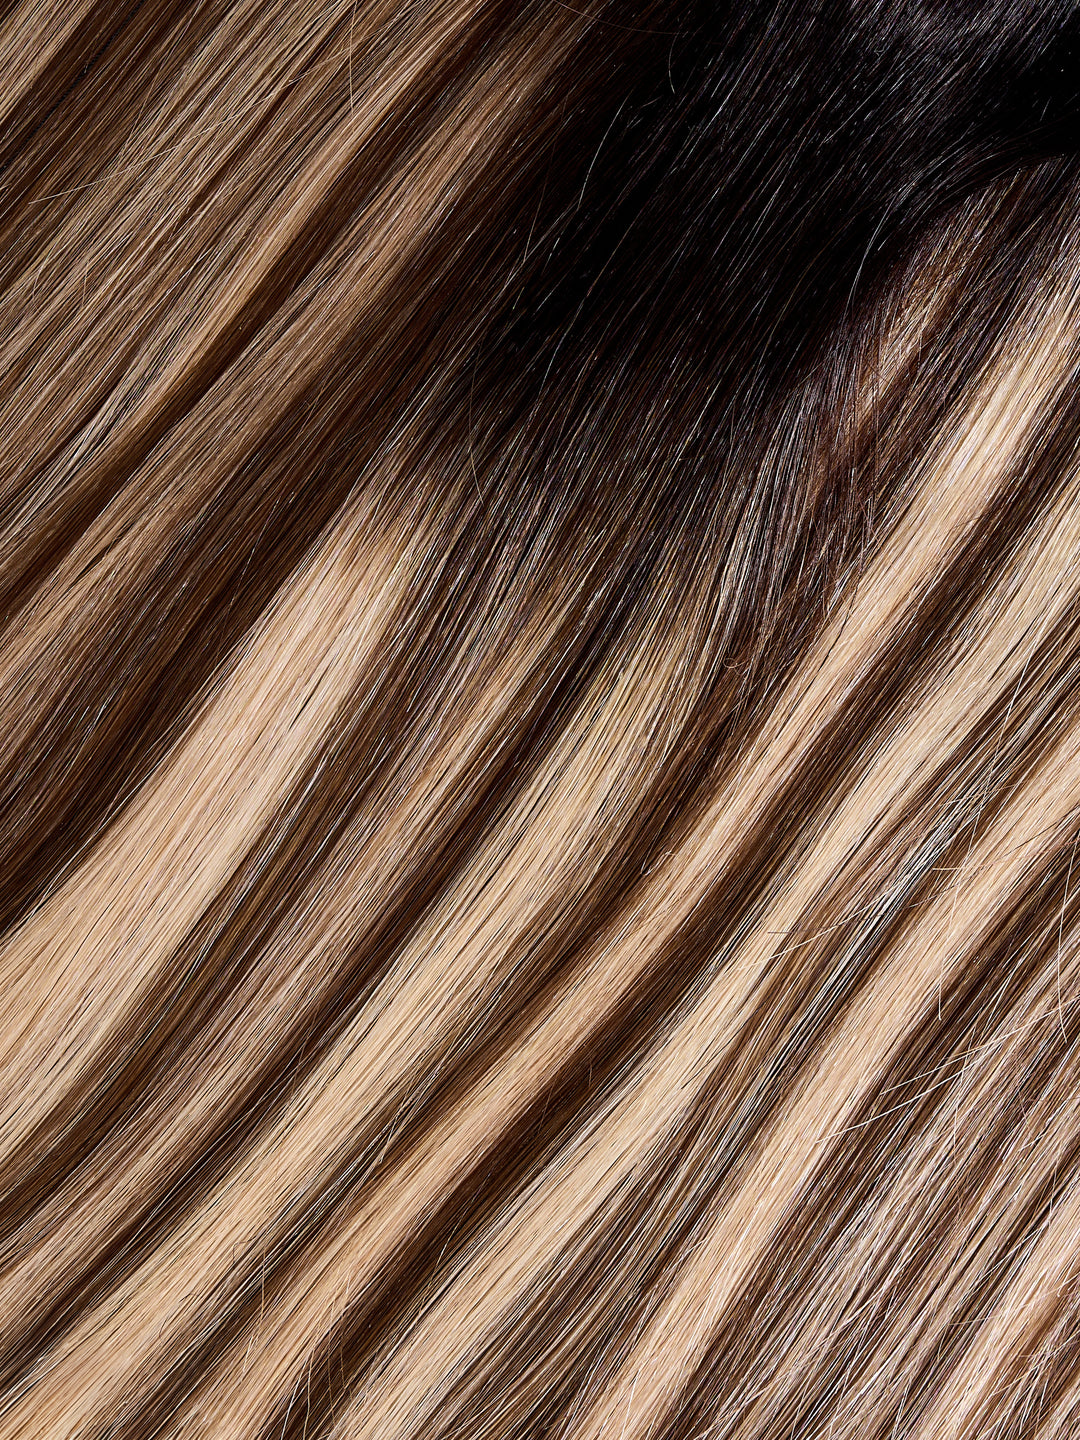
Next, pay close attention to the color match. You'll want to find extensions that are the same shade as the bottom layers of your hair. That's where the extensions will be peeking through, so nailing that color is crucial for a flawless blend.
Now, think about your hair's thickness - is it fine, medium, or thick? Pick extensions that'll give you the volume you're after. If your hair is on the thinner side, opt for volumizing extensions to beef things up. Already got thick locks? Stick to similar thickness extensions.
Don't forget about texture either. If you've got straight hair, straight extensions are a no-brainer. But if your hair is wavy or curly, find extensions that match that texture or can be easily styled to mimic your natural pattern.
Last but not least, length. You'll want extensions that are around the same length as your hair, or maybe a tad longer if you're looking to add some serious inches to those braids.


Tools and Materials Needed
If you want to braid in clip-in hair extensions, you'll need some special tools to do it properly. Let me explain the essentials:
-
The braiding loop is a handy tool that allows you to braid the extensions into your hair, similar to how you'd create dreadlocks. It helps secure the braids while still keeping them looking natural.
-
You'll also need some basic hair braiding tools like edge brushes, teasing combs, rat tail combs, alligator clips, and braider wristbands. These will help you create neat, intricate braids that look great with your clip-ins.
-
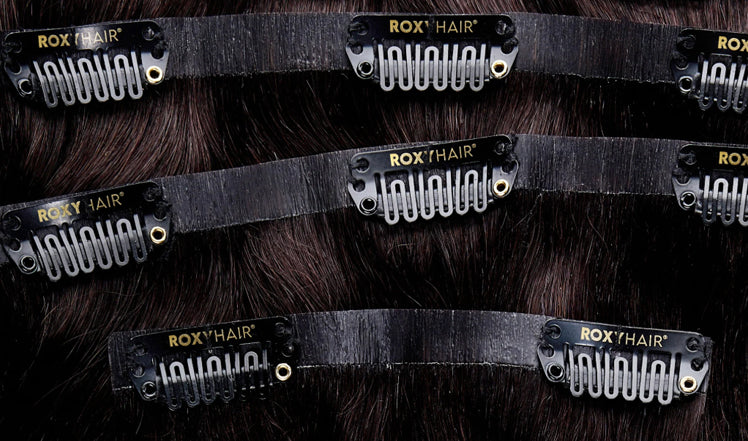
Braid clips are really useful too. You can use them to hold sections of hair and extensions in place while you're braiding, making the process much smoother.
-
Parting and sectioning rings are another game-changer. These stainless steel braid tools make it easier to precisely section and part your hair when working with clip-ins, micro beads, or hand-tied wefts.
-
Don't forget about hair extension supplies like glues, tapes, and other stainless steel tools. These will help you securely attach the extensions and blend them seamlessly with your natural hair.
Preparing Your Hair and Extensions for Braiding

What's amazing about braids is that they protect your hair from all that pulling and tugging that can cause breakage. But listen, if you don't prep your hair properly before getting braids, you'll completely miss out on those protective benefits.
Proper prep is a must for two big reasons. One, it'll make your braiding appointment quicker since your stylist won't have to waste time detangling and smoothing first. Two, and more importantly, prepping means your braids will stay fresh way longer.
-
Wash your hair thoroughly. Never braid dirty or wet hair - it's a recipe for disaster. Use a good clarifying shampoo to get rid of all that built-up gunk and grime. A clean scalp is key for long-lasting braids. Plus, shampooing and massaging your scalp can feel quite nice.
-
Condition your hair. After shampooing, you've got to replenish all that moisture with a rich conditioner. This will help prevent breakage and dryness, which can ruin braids.
-
Oil your scalp. Washing and conditioning alone aren't quite enough to lock in moisture. You need to seal it in with a nourishing hair oil. Look for oils with ingredients like sunflower, avocado, or black castor oil - they'll strengthen your hair and minimize frizz. The VoiceOfHair PureFix Elixir contains all those beneficial ingredients.
-
Stretch or part your hair. If adding extensions, blow dry your hair first to stretch it out - this makes braiding much easier and avoid tangles. If braiding your natural hair, part it into sections before starting for smoother braids.
Weaving, Securing, and Blending Extensions
When it comes to adding extensions, there are several weaving techniques you can choose from. Sew-in extensions involve sewing wefts of hair onto braids made in your natural hair. For this, you'll need needles like C-needles or J-needles. Crochet extensions use a latch hook needle to literally crochet the extensions onto braided hair. Netting and bonding extensions are other methods that attach wefts using nets or adhesives.
No matter which weaving method you go for, securing those extensions properly is key. With sew-ins, you can use little beads to reinforce where the wefts are sewn in. The exact technique depends on your hair type, lifestyle, and the look you want – you've gotta make sure those extensions blend seamlessly.
Speaking of blending, getting a natural look means choosing the right extensions for your hair. If you have thick hair, weave wefts or volumizing clip-ins can help the extensions disappear into your locks. Layering is also super important to hide tracks. Mixing lengths with face-framing layers can balance it all out nicely.
For those with shorter hair, nailing the thickness is everything. Tape-ins, wefts, or voluminous clip-ins tend to work well here. Just be sure to match the thickness accurately so nothing looks out of place.
Braid Styles with Clip in Extensions

You know how it goes - when you see someone braiding hair in a video tutorial, it looks so effortless and straightforward. But then, when you try it yourself, it can quickly turn into a tangled mess. No need to feel discouraged, though. Below are some simple braid styles that you can totally pull off at home, along with step-by-step instructions. Let's break it down nice and easy:
Double Dutch Braid
The classic Dutch braid look is perfect for achieving that dreamy, thick-haired vibe. If your hair is on the thinner side, clip-in extensions can give you that full, voluminous base to werk with.
Part your hair in two equal sections. Then gradually clip in the extensions, starting from the bottom and working your way up. The key is blending them in seamlessly so no one can tell they're not your real hair. Use a little hairspray and a brush to smooth everything together nicely. Just don't go overboard - you want some volume, not a giant pouffy mess.
Once the extensions are clipped in place, start Dutch braiding one side, making sure to incorporate the extension hair as you go. Secure with an elastic when you reach the ends. Then simply repeat the process on the other side. Thick, gorgeous double Dutch braids!
Boho Twist Braid
This fun, free-spirited style is so easy but looks so good. First, clip in some extensions at the back of your head to add that coveted body and length. You can just focus on the middle section if that's easier.
Next, create two equal sections and twist each one in opposite directions. Once they're nice and twisted, pull them outwards a bit for an effortless, voluminous look. Then simply twist the two sections together and secure with an elastic.
All that twisting helps conceal the extensions. As long as you blend them in well initially, they'll remain hidden for a seamless boho moment.
Elsa Braid
Channel your inner Disney princess with this intricate Elsa-inspired braid. Don't let short hair stop you - just clip in some long extensions first.
Since you're dealing with less real hair, be extra careful when applying the clip-ins so they stay put. Place them underneath face-framing pieces or horizontal back sections. A little hairspray can help blend and smooth everything together nicely.
Once the extensions are securely in place, get creative with your braiding. A classic fishtail braid looks gorgeous, or you could try a fancier style. The beauty is keeping it loose and whimsical like Elsa's signature 'do.
French Braid
The French braid is an incredibly versatile and elegant style that works great with clip in weft extensions. It allows you to incorporate all your hair, extensions included, into one thick braided piece.
To do a French braid with extensions, start by clipping in your extensions wherever you need some added length or volume - the crown, sides, or back sections work well. Blend them in seamlessly with your natural hair using a brush and some hairspray.
Next, gather your hair into a ponytail at the nape of your neck. Use a small elastic to secure it if needed. Separate out a small section from the ponytail to start your braid.
Begin French braiding by crossing that small section over the middle, adding in hair from the ponytail as you go down. Keep pulling hair from the sides and crossing it under the braid as you work your way along the scalp. The further down you go, the more hair and extensions get incorporated.
Tips for Maintaining Your Braided Clip in Extensions
With all that braiding and styling, your natural hair and extensions could probably use some extra TLC. Here's a tutorial on how you can show them some love.
-
Moisturize Regularly: Your extensions need some hydration love too. Use a water-based product first to moisturize, then follow up with a lightweight cream. Seal it in with a touch of pomade and tie your hair up in a silk or satin scarf overnight. This prevents frizz and keeps that moisture locked in.
-
Avoid Harsh Chemicals: Braid sheens and moisturizers with a bunch of chemicals? Not a good idea. That stuff can lead to buildup and irritation. Stick to natural ingredients or make your own spritz.
-
Proper Removal: Taking those extensions out can be a tangly mess if you're not careful. Use a cheap rinse-out conditioner to help detangle. Spritz your hair with water and conditioner first, then slowly unravel each extension while gently separating sections. A little natural oil removes shed hairs too.
-
Tease and Braid for Security: Want to keep clip-ins locked in place? Tease your hair first to build some volume and grip. Those extensions will have a solid base to cling to. Or try braiding the base before clipping them in - makes for a super sturdy foundation.
-
Care and Maintenance: Use a gentle, clarifying shampoo made for extensions. No aggressive scrubbing though, you'll roughen them up. Section out your natural hair neatly to conceal the clip-in bases for a flawless blend. A spritz of hairspray on teased sections adds grip, and use a loop brush for smooth styling. Always sleep with a silk or satin scarf or bonnet to protect your braided extensions and prevent matting of edges. A silk or satin pillowcase can also help maintain hair moisture and reduce friction that can lead to frizz and damage. To further reduce friction and prevent tangling, consider braiding your extensions into a loose braid or twist before sleeping.
Summary
Mastering braids is a breeze with quality clip-in extensions from Foxy Hair®. Our seamless blending makes all the difference. Prep the extensions and your hair, then get creative - try classic three-strand braids or intricate crowns. Well, a little patience and the right clip-ins can transform your whole braid situation. So, why not treat yourself to some of our Foxy Hair® extensions?
Frequently Asked Questions
Should I braid my hair for clip-ins?
Yes, you should braid your hair for clip-in.
How do you clip in hair extensions step by step?
To clip in hair extensions, start by making horizontal sections in your hair and securing the upper hair with clips. Then backcomb the hair closest to the scalp and snap the hairpiece into place.
What are some tips for maintaining braided clip-in extensions?
You gotta sleep with a satin cap on, use a silk pillowcase, and braid those clip-ins loosely before bed to keep your hair fresh and tangle-free.