Clipping in your clip-in extensions can be tricky. We get asked often, where exactly should they go to look natural? Getting the placement just right takes the guesswork out of transforming your locks. The Foxy Har team has your back and put this guide together for you. We'll talk you through how to blend those clips into your hair in a way that looks seamless. By the end, you'll step out with extensions that flow as flawlessly as your real strands. No more worries about clips poking out- just hair that makes you feel confident and beautiful.
Understanding Clip in hair extensions
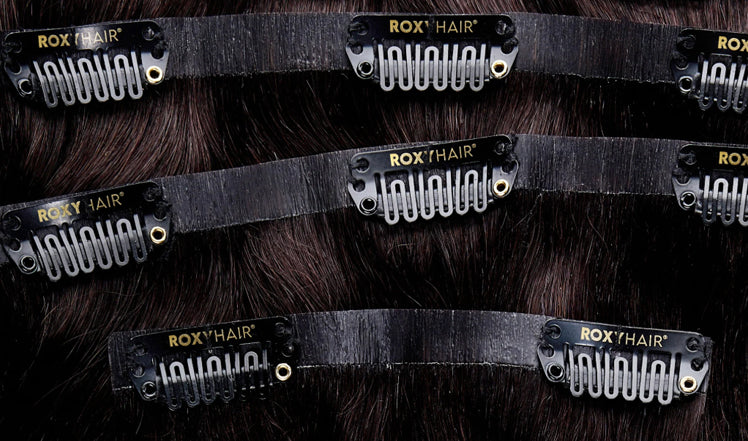
Clip-in hair extensions are exactly what they sound like - strands of real human hair with clips at the top. The clips allow you to easily attach them to your natural hair for extra length and volume. Unlike bonded or sewn-in extensions, clip-ins are temporary and don't damage your own hair.
Clip-in extensions have tiny clasps concealed in a small silicone lining on each weft. You simply use your fingers to gently open the clasp and clip the wefts onto tiny sections of your natural hair. The silicone keeps them securely in place but is gentle on strands.
Choosing the Right Clip-In Extensions
 You may feel overwhelmed when faced with the variety of hair extensions on the market these day. Clip-ins, tape-ins sew-ins - how do you decide? There's no need to feel anxious. Picking the right extensions doesn't have to be difficult.
The various types work differently. You have options depending on your hair and needs. Here we'll overview what to consider before purchasing:
Hair type
One big factor is what type of hair the extensions are made of. There are two main options: synthetic and real hair. Synthetic hair is crafted from plastic fibers or other manmade materials. Real hair contains 100% human hair protein that's very strong. Synthetic hair (fake hair) can easily get damaged from heat tools. But real hair can be styled in all sorts of ways while looking more natural.
Your own hair type impacts what clips work best too. Fine or thin hair does better with lightweight clips and smaller bases. Why? Large clips can slip out of delicate strands. Thick or curly hair can handle bigger clips with more hair for fullness.
Texture matters as well. Straight extensions blend most naturally with straight hair. And curly clips match best with waves or curls. Using a straightener or curling wand gives you flexibility to switch up textures and experiment with new looks.
Right length
When picking extensions, length matters. It's tempting to go super long for drama. But hair that's way longer than your natural strands can look fake. Aim to add only 2 or 3 extra inches. This subtly boosts length without throwing things out of whack. When in doubt, go more subtle over overly long.
Unsure what length is best? Try this:
Stand in front of a mirror with a tape measure. Place the end at about your ear height. Measure down to 20, 22 or 24 inches to preview the looks. Remember, go around 1.5 inches longer than your hair. This allows blending and styling.
But heads up - long clips may need trimming to mix into your real strands seamlessly. When putting them in, secure the middle clip first. This keeps things balanced and secure so the extensions blend better.
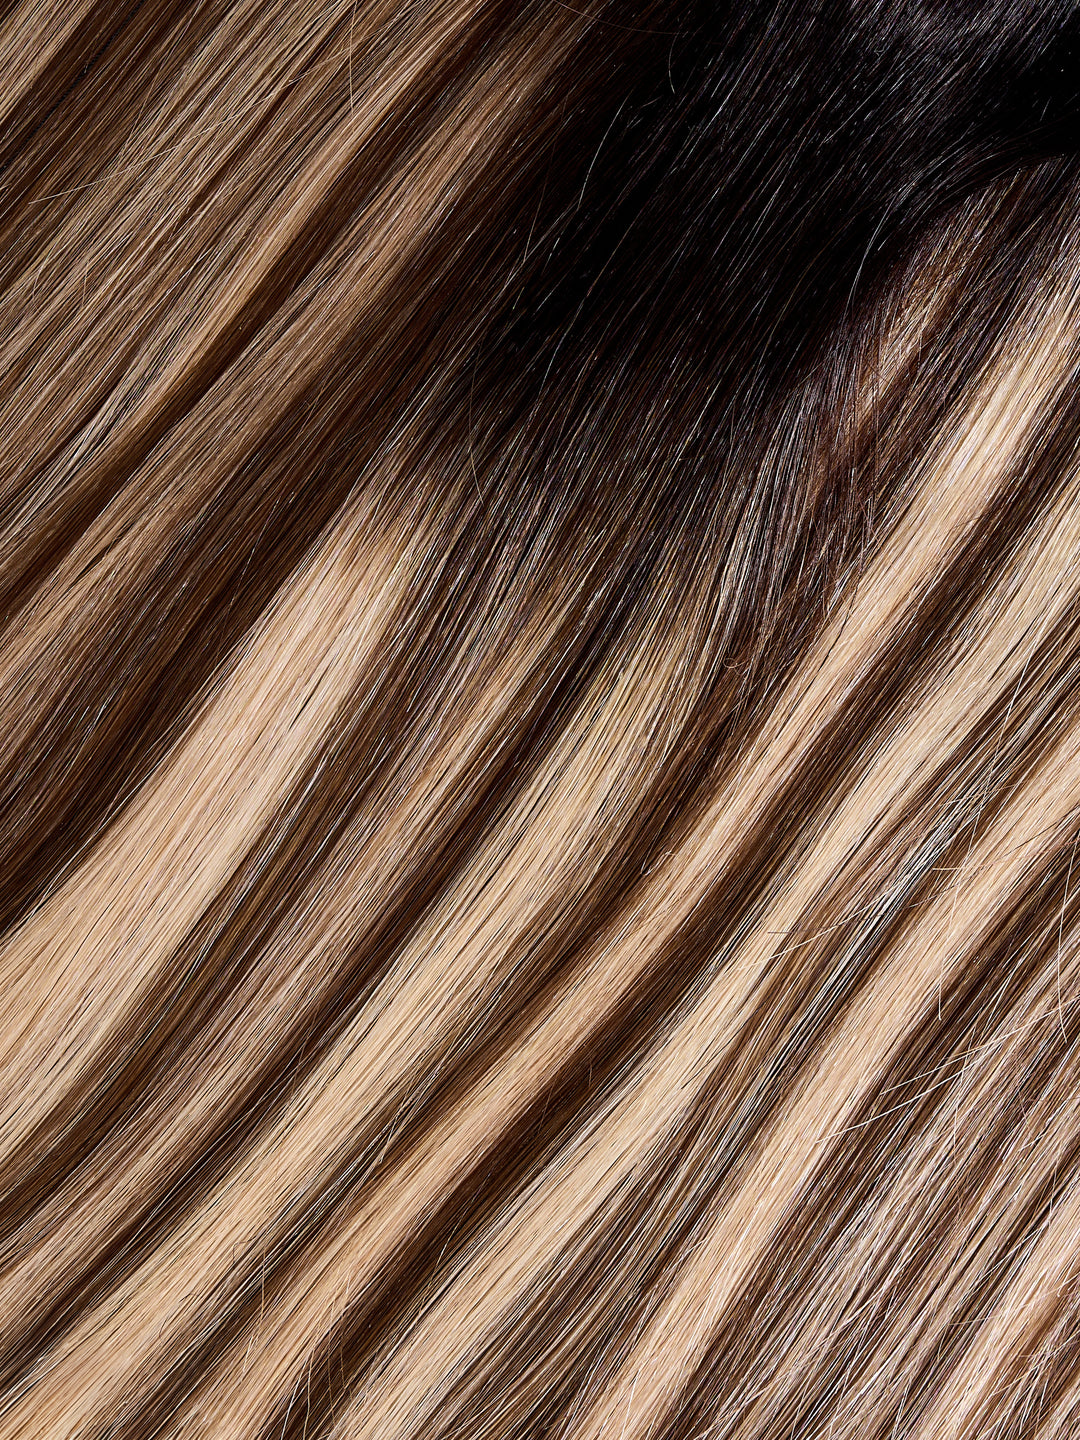
Color Matching
The color you pick is as crucial as the hair quality. The wrong shade can show your scalp, cause weird lines, or clash with your look. When selecting clips, keep these things in mind:
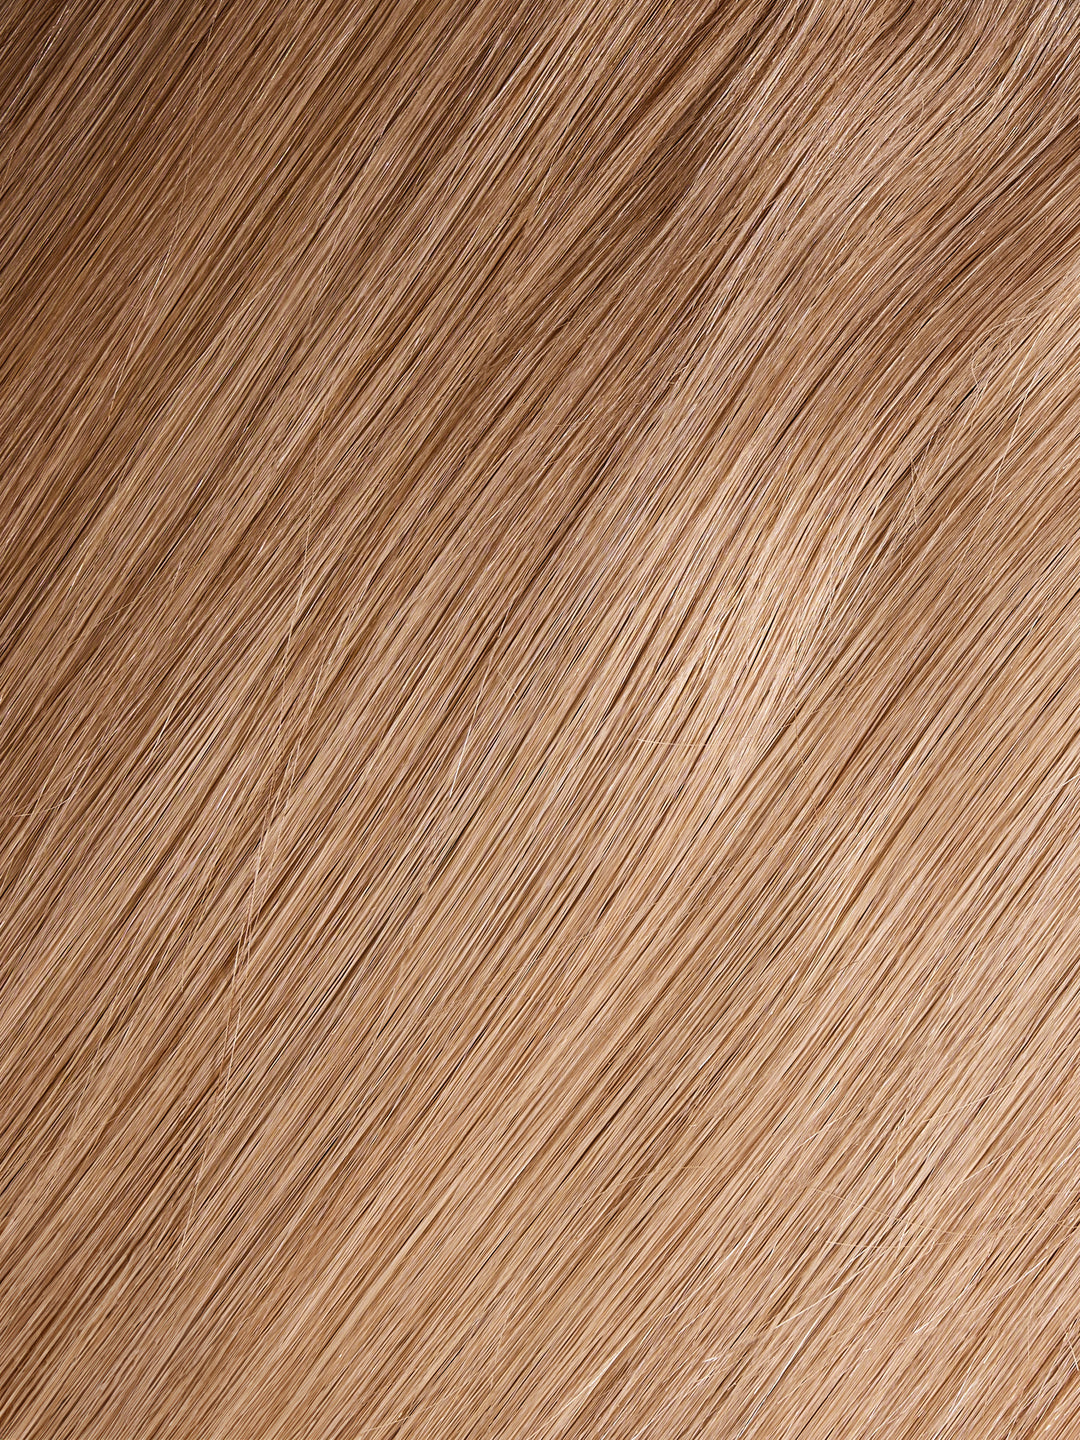
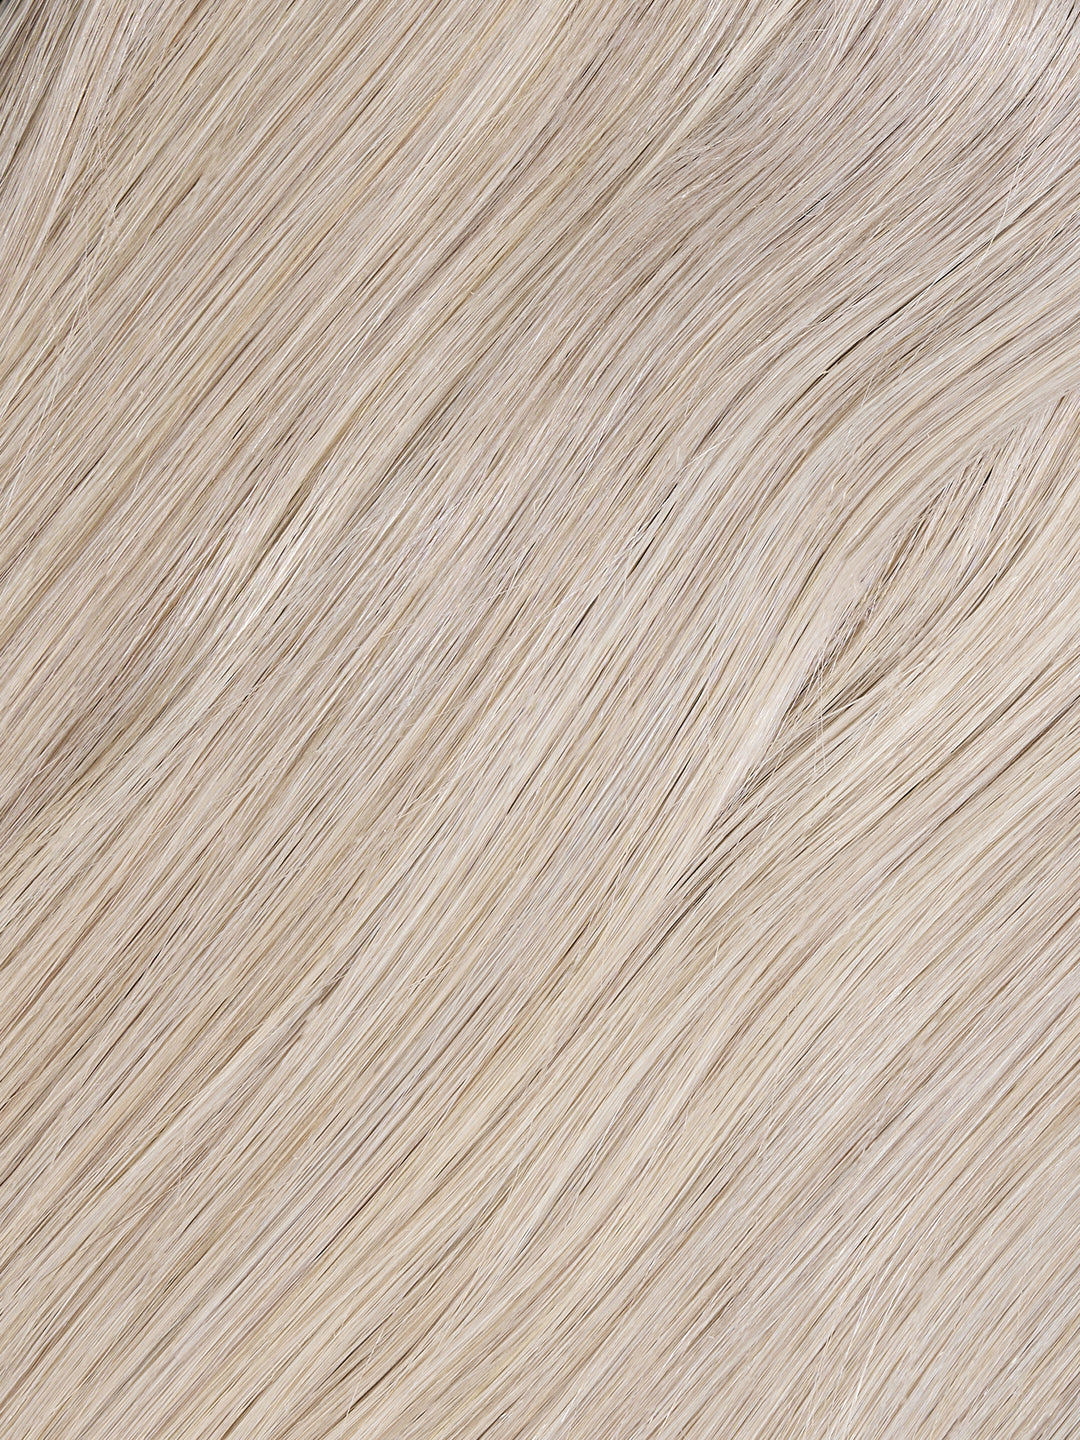
Your natural color: Choose a shade that matches your real hue. Blondes should go lighter. Brunettes should go darker. This allows seamless blending.
Skin tone: Warm skin? Grab warm brown clips. Cool tone? Opt for ash blonde or jet black. Match the undertone.
The event: Heading to a black tie party? Jet black extensions compliment a formal dress. Getting glammed up for a summer bash? Try a warm honey blonde.
The best bet is matching the extensions directly to your current hair color. Can’t find an exact match? Go slightly lighter then dye them. This melds hues together beautifully.
No matter your natural color, pick a shade that works with it. Look at lighting in the product images to assess tones accurately. And check your hair color in natural light. This ensures you choose extensions with a flawless fit.
Weight
When choosing clip-ins, weight matters more than you may guess. Extensions range from 100 to 300 grams. What decides the heft? The amount of hair.
If you have fine strands, go heavier. Dense clip-ins pump up thin hair for fuller locks. Those with thick manes can opt for lighter extensions in longer lengths to get rapunzel-worthy ends.
As you browse different weights, envision how they'll blend with your natural texture. The goal is enough hair for a smooth transition between your real strands and the extensions.
Go too heavy on finer hair and clips may slip out. Too light on thick hair won't get that wow factor. So what works best? Here’s a handy guide:
-
Fine hair: 130g or lighter
-
Medium hair: 160-200g
-
Thick hair: 200-300g
Sectioning your hair
 Putting in clips is super easy with a bit of prep. Proper sectioning helps them sit right and makes attachment smooth sailing. Here is a step-by-step guide:
Lower back
To apply clip-in extensions to the lower back of the head:
-
Begin with the widest weft - typically 8.5 inches across.
-
Secure the middle two clips of the wide weft into the middle sectioned hair at the nape of the neck.
-
Attach the side clips for stability.
Consider backcombing the lower hair in one-inch parts before clipping in. This helps the wefts grip better. Once attached fully, all clips should be covered by your natural strands.
Mid-section
To seamlessly blend clip-in extensions in the mid-section of hair:
-
Begin just above the nape and select a weft equal to the width of the partitioned hair.
-
Attach the middle clip of the weft to the center first.
-
For four clip wefts, secure the two middle clips first.
Sides
When adding extensions to the sides, small wefts work best. Proper placement of the outer clips and center clip is vital for even volume and subtle blending to the nape of your neck. One easy trick - put a finger behind each ear's middle and attach clips there.
Be sure to gently stretch the wefts sideways when securing those middle clasps. This keeps things smooth without lumps. Bumpy clips get noticed, and we don't want that! The goal is to add fullness that replicates natural hair seamlessly.
So focus on strategic positioning and gentle smoothing as you apply the side pieces.
Blending and Styling
 Many believe wearin is simple. But achieving a seamless blend takes effort, like fitting loose clothing. There is no one-size-fits-all approach. Selecting the perfect color match is the first step. Additional adjustments are required for flawless blending and styling though.
The process begins by matching extension color to your hair. But blending and styling remains. Here is how to customize clip-ins for an integrated look:
Blending Tips
Achieving a seamless blend requires considering hair type and extension style. For straight hair, use wefts/clip-ins closest to your length, backcomb the rest of the hair for volume at the roots, then soft paddle brush and straighten hair + extensions together. Those with layers should cut the hair extensions to match or use identical lengths to your hair for cohesive volume when wearing hair extensions.
Short hair benefits from making the top layers look layered over the semi permanent hair extensions for coverage. Curly styles already have volume at the roots to hide clips. Fine hair should opt for tape-in hair extensions, nano rings or bonds which blend most imperceptibly. Use a rat tail comb for precise sectioning and blending.
Matching extension thickness and length to your current style is also important. Medium lengths can hide bonds with curls or straight ends. Short thick hair suits tapes, wefts or volumizing clips. And weave weft pieces with correct placement blend well for those wanting dramatic length.
Consulting a stylist ensures proper application and cut for your hair extensions. With the right advice, extensions can look beautifully natural.
Styling Ideas
Clip-in hair extensions allow experimenting with countless hairstyles. For length and volume, options include:
-
Half up half down styles
-
Low and high ponytails
-
Top knots or buns
-
Braided headbands
-
Fishtail or Dutch braids
-
Mermaid waves made using a curling iron
-
Twisted updos like top knots
-
Messy buns wrapped around ponytails
When wearing extensions, gently brush your hair thoroughly and utilize heat protection spray before heat styling. This prevents damage. Extensions also add volume for styles like:
-
Voluminous lobs
-
Retro waves made using curling iron
-
Blowouts with bounce and body
Maintenance and care
 Your clip-in hair extensions are like your regular hair - they need a little care to stay looking good. It doesn't take long to clean both fake and real extensions. And it takes even less time to care for the individual wefts of hair each day. With some regular maintenance, your extensions can look extra smooth and pretty when you want to wear them. Here's how to give TLC to your extensions:
Washing and conditioning
First, brush out any tangles in your extensions. Use a wide-tooth comb and start at the bottom, about 3-4 inches from the ends. Gently work out knots as you brush up to the top. Keep brushing until there are no more tangles - it's hard to wash knotted hair!
Next, fill your sink halfway with lukewarm water - not too hot or cold. Add a small, pea-sized amount of sulfate-free shampoo and swish it around to make suds.
Hold the clip-in base and dip the hair into the sudsy water. Massage the extensions gently with your fingers to lift dirt and buildup.
Rinse the soapy extensions under lukewarm running water. Keep rinsing until the water runs clear - it may take a few rounds to remove all the suds.
Apply a hydrating, pea-sized amount of conditioner from mid-shaft to ends. Let it soak in for at least an hour, or even overnight. Rinse out any leftover conditioner under lukewarm water.
Finally, drench the conditioned extensions with cold water to seal in the effects. Let them air dry completely on a clean towel. Check for tangles as they dry.
Storage and protection
Proper storage is key to keeping your clip-ins looking their best. They should be stored in a dry, cool place, away from direct sunlight.
Make sure extensions are completely dry and brushed out before storing. This prevents tangles and maintains quality.
Protecting your clip-ins from sunlight is crucial - UV rays can cause them to become dry, brittle, tangled, and lightened in color.
After washing, tie the extensions at the base and slide into the original box to prevent tangling and frizz. If you don't have the box, use a sturdy bag.
Brush daily with a wide-tooth comb, starting at the bottom inches and gently working up. Always brush downwards for a smooth look. Treat as gently as your own hair.
Apply a small amount of hair oil, focusing on the mid-shaft and ends, to condition real hair wefts. Oils help keep hair strong and shiny.
Before heat styling, spritz heat protectant spray all over real hair wefts to help them last. The protectant forms a barrier against damage from hot tools.
Invest in specialty combs, brushes and shampoos made for extensions. Ask a stylist for recommendations if uncertain what to buy.
Placing clip-in hair extensions
It seems like every celebrity has worn extensions before. But most of us don't have the money for costly extensions put in by a stylist. Clip-ins let anyone try long, voluminous locks.
Here is a step-by-step on how to apply clip-in hair extensions all on your own:
-
First, check out all your clip-in pieces and make a plan for where each will go best. For me, two thin ones went on the sides, two wider clips in back, and the big one near my crown.
-
Next, part your hair cleanly from ear to ear and clip up sections out of your way. Tease the hair at the roots where clips will be, lightly spray, and open all clip clips.
-
Start clipping! Feel for your part and attach clips middle first, ends last. Work up the back of your head with medium strips first, then do the biggest at crown.
-
Do the same on the sides – make new straight parts, tease, spray and clip in little ones. Watch they blend well and uncover any clipped hair.
-
Lastly, check all over that extensions are covered by your real hair, fix anything wonky, brush gently and style away!
Clip-in extension pros and cons
 Clip-ins are easily the most popular kind of extensions. With options galore for length, thickness, and shades - there’s a set for everyone!
But should you get clip-ins? Let's weigh the pros and cons.
Advantages of Clip-Ins
-
Only wear them when you want. Extensions give you a thicker hair and extra length whenever you wanted. Easily put in and take out before bed. Great for those who often tie up hair or play sports.
-
Simple application. Easy for beginners or those who don't style much.
-
Style them using a hair straightener before wearing the extensions. Clip in and out as needed!
-
Silicone-lined clips stay secure but are gentle on strands. Prevents slipping.
-
Save time. Just clip them in! No lengthy or frequent salon visits required.
-
You can elevate your look when you wear extensions. Gives you extra glow and flair for some special occasions!
-
Feel confident and beautiful! Well-styled hair with secure clips gives a mood boost.
Limitations of Clip-Ins
-
Take clip-ins out before bed and when washing hair. They're not permanent. Leaving them in can damage hair or cause tangles.
-
Wearing clips in one spot daily can stress that part of your hair. Put them in different spots each time. Teasing hair first gives extra support.
-
Clip-ins can't be customized like some extensions. Other hair extension let you blend colors. But human hair clip-ins can be dyed.
-
If new to clip-ins, you'll need practice with placement. You want the wefts positioned right. So ponytail and style look natural.
Conclusion
Clip-in hair extensions offer a simple and versatile way to temporarily enhance your locks. Picking extensions that match your hair is key for a seamless look. Proper placement, care, and styling help them blend beautifully.
Although clip-ins have some limitations, you can troubleshoot common issues with the right techniques. Overall, they give you an easy way to temporarily change up your hairstyle.
Foxy Hair offers tons of high-quality clip-in options to match your hair type, length, volume and color. With the right selection, maintenance and styling, you can enjoy natural-looking hair enhancement. Try out Foxy Hair's clip-in extensions today to give your hair a whole new look!
Frequently Asked Questions
Where do you put clip on hair extensions?
To put clip-on hair extensions, start by making horizontal parts in your hair and securing them with clips, then insert the wefts below the part, starting with the middle clip. Avoid clipping them too close to your hairline for a natural look.
What order do you put clip-in extensions in?
To put in clip-in extensions, start by clipping the middle clip first, followed by the clips on each side. Then work upwards as you stack the rows with about 1-1.5" between each hair parting, gently brushing and detangling as you go.
How often should I wash my clip-in hair extensions?
You should wash your clip-in hair extensions every 15-20 wears or on a monthly basis. This helps to maintain their quality and lifespan.
Can clip-in extensions cause discomfort?
Yes, clip-in extensions can cause discomfort if not properly placed or suited for your hair type. Adjusting the placement or opting for lighter-weight options designed for your hair type can help manage this discomfort.
What are the advantages of clip-in extensions?
Clip-in extensions are advantageous because they are easy to apply, versatile, and affordable, offering a convenient and temporary hair enhancement solution with multiple styling options.
What to remember about clip-in extensions:
-
Pick extensions that match your hair type, length, volume and color. This helps them blend seamlessly.
-
Place larger wefts at the lower back of your head. Use mid-sized ones in the middle section and smaller pieces on the sides. Blend with your natural hair after each clip.
-
Wash, condition and store clip-ins properly so they last. Also fix common issues like slippage and discomfort for comfortable wear.
-
With the right choice, placement, care and styling, clip-ins can beautifully enhance your hair! It just takes some thoughtful preparation.