Roxy Hair totally get it - we've all seen those crazy, obvious hair extensions that just look so fake and stringy. It's like, yikes, how do people even walk around with that on their head, you know?
But listen, I've got good news - you can totally find extensions that look insanely natural. Whether you're going for extra length, crazy volume, or just a whole new vibe, the right kind of extensions can be your little secret. No one has to know but you.
We’re going to share all our insider tips on how to make your hair extensions look stunning and flawless. By the time we're done, you'll be a total pro at rocking amazing hair. When your friends find out those gorgeous waves aren't even your real hair, they're gonna be so jealous! You can use extensions and no one will ever know. Let's dive in.
Key Takeaways
-
Pick the right type of extensions for your hair and lifestyle. There are clip-ins, tape-ins, sew-ins, and more - your stylist can help you choose what works best.
-
Blend the extensions seamlessly with your natural hair. Have your stylist cut and layer the extensions to match your own hair perfectly.
-
Use the right styling products to help the extensions disappear into your natural hair. This'll make the look totally seamless when you wear hair extensions.
-
Be gentle when washing and brushing the extensions. Treat them with care to keep them looking fresh and natural.
-
When it's time to remove the extensions, do it the right way to avoid damaging your real hair underneath.

Choosing the Right Hair Extensions
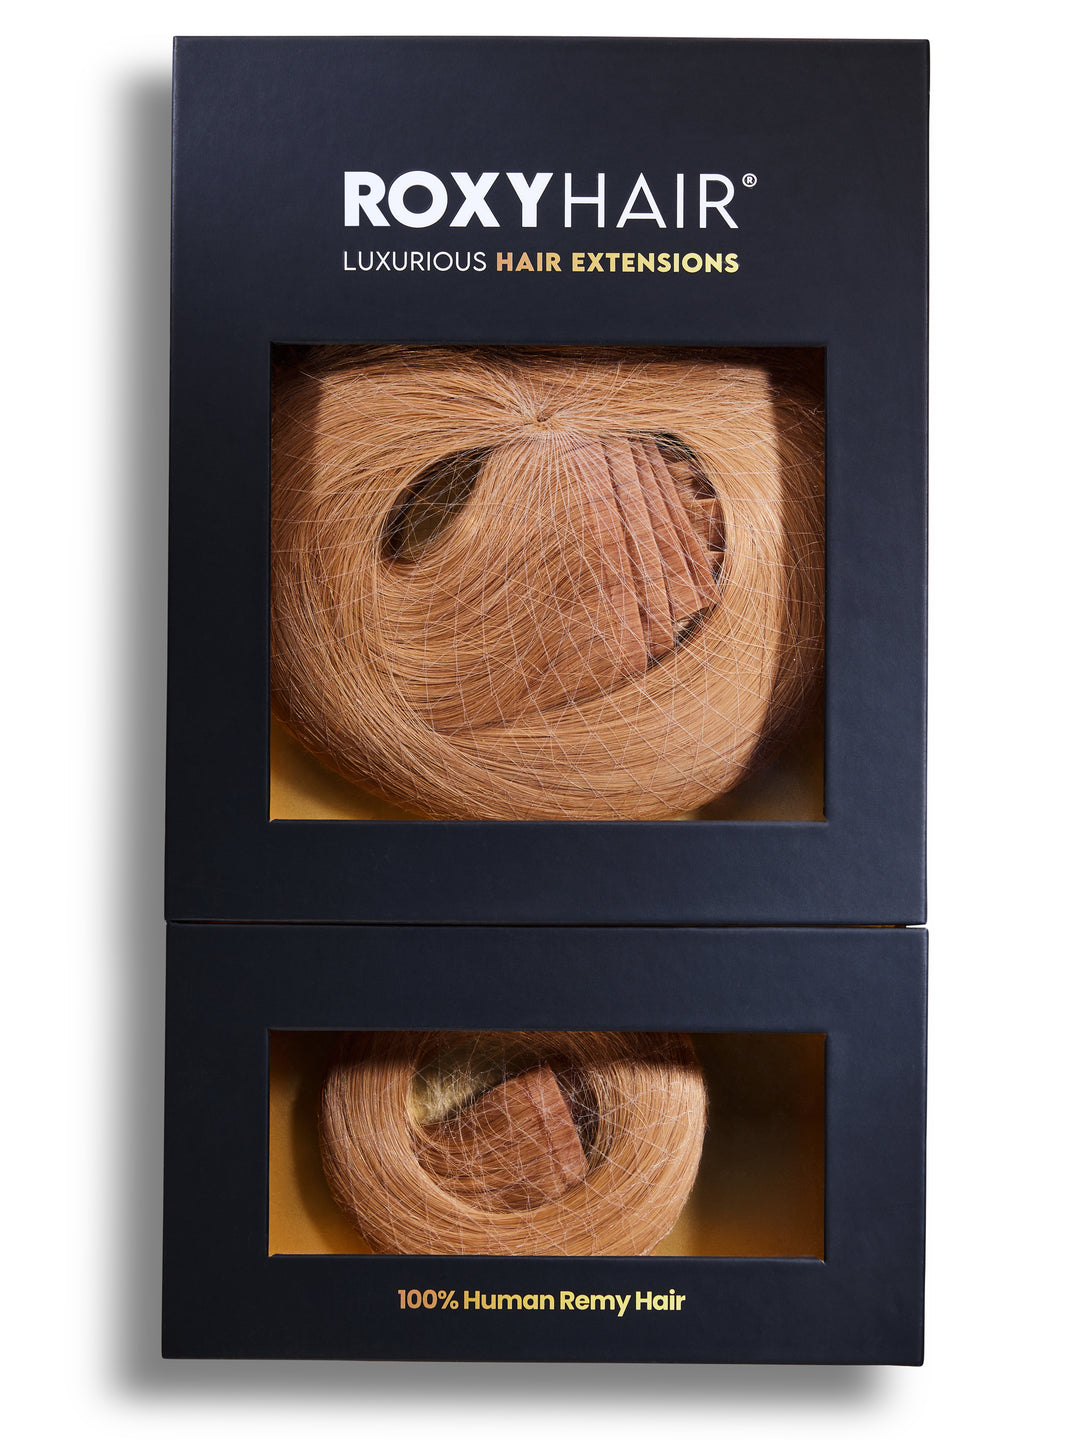
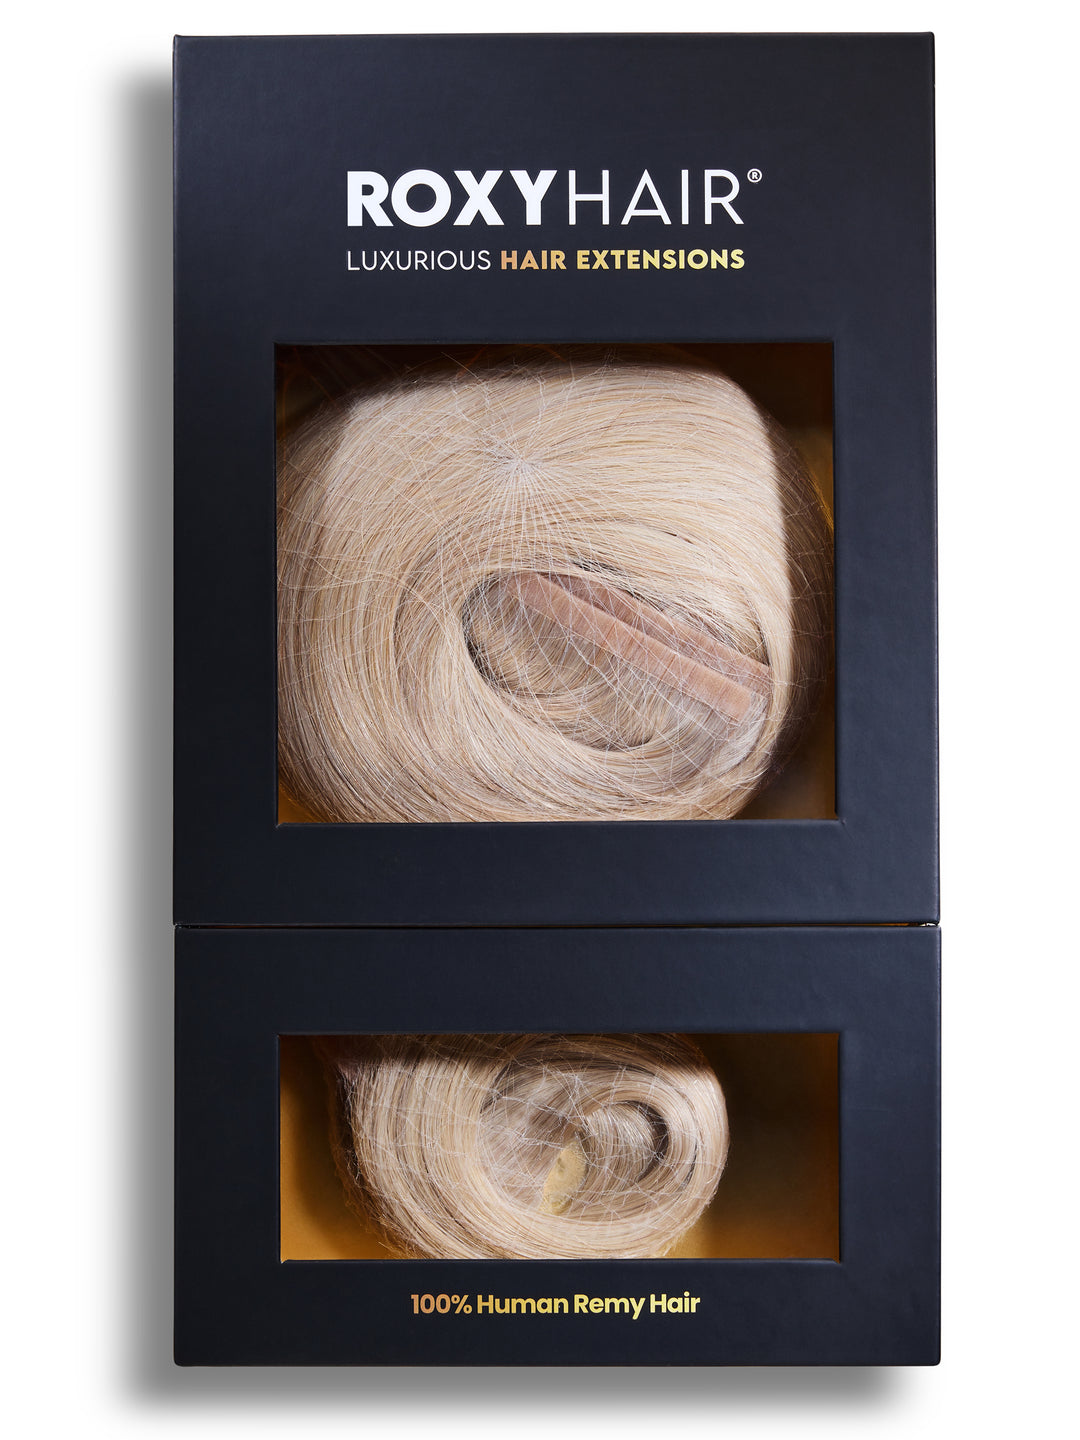
If you're new to wearing hair extensions, it might be intimidating to learn all the words and styles that are available. Hair extensions are not just confined to this type, even though Roxy Hair Extensions are 100% remy human hair clip-ins. To assist clear up any confusion, we're going to break down the various kinds of extensions.
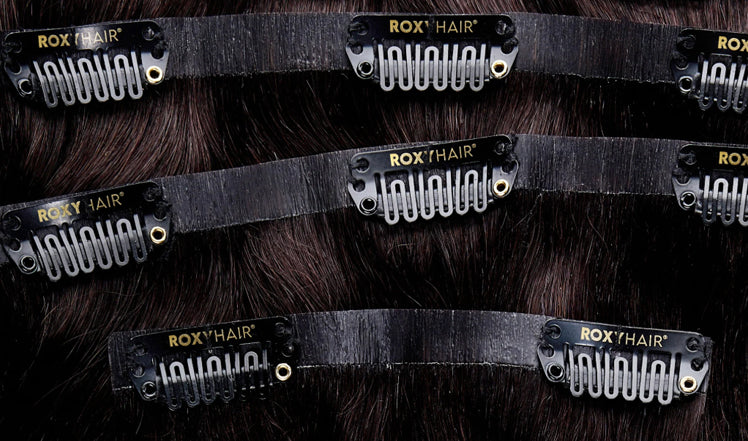
Hair Extensions Clip-In
These are the people that avoid commitment in the world of extensions. Wefts (rows) of hair glued on a silicone or fabric base with clips fastened are what clip-ins are made of. Basically, you can clip these ready-to-wear pieces onto your natural hair whenever you want a little extra flair. You can put them in yourself in about five to fifteen minutes, so no hair stylist is needed. Since they just clip on, there are no harmful chemicals, heat, or tension applied to your actual hair. For this reason, clip-ins are among the most widely used and low-maintenance solutions.
Simply wash, condition, and style human hair clip-ins as you would your own hair after 15 to 20 wears, or whenever they start to look a little crusty. When curling or straightening them, use a lower heat setting as well. These short-term extensions can last anywhere from three months to more than a year with the right care. This would be a perfect parter for any kinds of hair - straight hair, short hair, and even thin hair.


Tape-In Extensions
Tape-in extensions can be the perfect match for you if you're looking for a more stunning, thick hair extensions but long-lasting style. These babies got their name because a professional hairstylist literally tapes wefts of hair (with special sticky strips) on either side of your natural hair. They essentially bond the tape wefts to your locks using a hot instrument.
When installed correctly, it takes about 40–60 minutes and seems flawless and unnoticeable. There's a catch, though: in order to preserve the adhesive's hold, you must use conditioner and styling products extremely gently due to the amount of tape. To help you prevent mistakes, your stylist could suggest lightweight products and specific sulfate-free shampoos.
Many women choose tape-ins despite the heavy maintenance involved since they may style them with hot tools and color if desired, exactly like regular hair. As your natural hair grows out, the semi-permanent extensions usually need to be re-taped every 4–8 weeks.

Sew-In/Weave Extensions
For sew-in or weave extensions, your natural hair must first be tightly cornrowed into a cluster of braids. Then, using a needle and thread, a hairstylist will physically stitch or weave wefts of hair into those braids. Sitting in the salon chair for several hours is a precise, complex operation.
The great thing about them is that they look and move super naturally. Your hair will be thick and gorgeous. For an even more realistic look, your stylist can stitch in a full lace wig piece instead of just wefts.
The only downside is that all those braids can put a lot of strain on your scalp and hairline. That's why sew-ins are usually better for folks with coarser, thicker hair.
To keep your sew-in looking fresh and avoid any damage, you'll want to really focus on hydrating your scalp and strands. Do a nourishing oil treatment and deep conditioner at least once a week. Protein treatments and gentle shampoos can also help.
Just remember not to leave the sew-in in for too long - it's best to take it out every 6-8 weeks to give your natural hair a break. That way, you can keep rocking the sew-in look without any issues.

Fusion/Pre-Bonded Extensions
These are semi-permanent extensions that use heat-activated bonding adhesives, like keratin, to attach individual strands right to your natural hair.
Getting them applied takes some time - usually 3-4 hours - as your stylist has to carefully bond each pre-attached strand using a heated tool like a glue gun. But the end result is amazing - your hair will look and move so naturally.
The main downside is that if the adhesive or heat isn't applied properly, it can damage your hair. And as your hair grows, you'll need to get them realigned every 2-3 months. For folks with very fine or damaged hair, fusion extensions may not be the best option since they could cause more breakage.
But if your hair is healthy enough, fusion extensions can last up to 4 months before you need to get them removed and reapplied. Just make sure to go to an experienced stylist.

Micro-Link/Bead Extensions
These can be a great option if you want a bonded look without using a lot of heat or adhesive.
The stylist uses tiny silicone-lined beads that get clamped onto your natural hair in small sections to secure the extension wefts. It's less harsh than the keratin bonding of fusion extensions, but you still need a trained stylist to do it right and avoid any harmful tension.
The whole process takes 2-4 hours depending on how much hair is being added. The nice thing is you can treat and style these just like your natural hair since there's no adhesive involved. Just make sure to get them adjusted every 2-3 months as your hair grows to prevent the beads from slipping or straining.
Wigs & Hair Pieces
If you need a dramatic new look fast, full lace wigs are a great option. These are basically a wig that covers your whole head, attached to a lace or net cap. The variety of colors, textures, and styles can totally transform your look.
For a more temporary change, hairpieces like clip-in bangs, ponytails, or buns are easy to apply to your natural hair for an instant boost of length and volume.
The main downside is that both wigs and hairpieces need to be handled carefully, especially synthetic ones which can age quickly or get damaged by heat. Human hair options are more expensive but last longer with the right care. Premium wigs can last up to a year, while cheaper synthetic pieces are usually good for just a few weeks.
Proper Installation Techniques
The key is creating a seamless, unnoticeable blend with your natural hair. No matter if you're going for a blended look or a totally hidden application, there are a few tricks to make your extensions appear completely natural.
With Blending Natural Hair with Extensions
-
Start by brushing and detangling both your natural hair and the human hair extensions. This helps everything blend smoothly.
-
Separate out the outer layers of hair around your face and head. These are the key areas you want to focus on.
-
Use the same heat settings and styling motions on both your natural hair and the extensions. Run a flat iron or curling wand through, blending the real and fake pieces together as you go.
-
Take your time with this step - slowly move the hot tool through to really integrate the hair.
-
Once it's all styled, use your fingers to gently rake through and mix the hair even more. This helps everything look completely seamless.
-
To "meld" the hair pieces, use a mild styling lotion or serum.
-
For an imperceptible finish, pay additional attention to the blending around your hairline and part.
For Hair Texture and Layering
-
For best results, have a professional stylist hair cut and layer your clip in hair extensions.
-
To reduce bulk, request undercutting techniques and lengthy, face-framing layers.
-
Ask the stylist to use point-cutting to texturize the ends for delicate piecing.
-
For softness and flow, ask them to use feathering and cutting at a small angle.
-
Allow the stylist to blend and create smooth transitions between your natural hair and the extensions.
-
Steer clear of harsh, thick lines that are blatantly artificial to protect your own natural layers.
How to Blend and Style
Alright, now comes the fun part - styling your hair with those extensions!
First, grab a wide-tooth comb or a brush made specifically for extensions. Gently comb through and blend your natural hair with the extensions, starting from the bottom and working your way up. This will help prevent any pulling or snagging.
Once everything is nicely integrated, you can style your hair however you like - curl it, straighten it, or go for some pretty wavy hair! To really make sure the extensions blend in seamlessly, add some gentle bends and curves as you style. And if you're having trouble getting it all to come together for an updo, try curling your hair first - that can make it a lot easier to incorporate the extensions.
Ponytails and halo extensions are also great options for keeping everything looking polished and cohesive. Just take your time blending it all together, and you'll have a super natural, flawless look.
Hair Styles You Can do for Seamless Natural Look
Seamlessly wearing hair extensions simply refers to something that feels like a portion of your own hair. Additionally, you don't want to show up to any gatherings with a lackluster appearance because you don't blend hair extensions in the right way. Try these hairstyles that work well with extensions for a stunning, carefree appearance.
1. Braids
First up, braids are a necessity when wearing extensions. Braiding is a complete breeze with seamless clip-ins. First, clip them into your skull, then start braiding however you like. This is suitable for any hair types whether you have long hair or shorter hair. Consider french braids or fishtails, etc. The faultless braided effect is achieved by the seamless wefts blending in perfectly. Use a few parts for tiny accent braids or the entire set for one large, eye-catching braid. Very stylish and intricate.
2. Ponytails
If you want a simple, bohemian-style ponytail, your new best friend will be clip-in extensions. Turn your head over and start by attaching the wefts to the underside of your fine hair in an upside-down manner. They are hardly undetectable after you flip back and smooth into a ponytail. The better, the fuller and more voluminous! You will have a perfectly thick ponytails created by our seamless complete head sets.
3. Half-Down, Half-Up
This style is always in style—the perfect balance of bohemian and glam. For even more amazing length and volume, clip in a couple seamless weft strands around the bottom half of your real human hair. Think about using contrasting shade extensions to add a brilliant splash of color as well. Such a wide range of styling options.
4. Messy buns
Every season is practically messy bun season. They're the ideal updo for a lazy female that nevertheless manages to look put together. Before tying it up into a bun, add even more volume by trimming in some smooth extensions around the base and crown. The extra hair gives the bun such a striking texture—it's thick and voluminous. Apply hairspray to finish, tousling and spritzing.
5. Hollywood Waves
Nothing says glitz and glamour quite like vintage Hollywood waves! Start with a full head of smooth extensions to get twice as much body and length. With a big barrel wand, curl both the extensions and your natural hair. Use a wide-tooth comb to smooth out the gorgeous, blended waves you've created. This creates a smooth, flowing wave pattern that unites your hair with the extensions.
Maintenance and Care for your Extensions
Maintaining human hair extensions is not difficult, but there are a few things to remember:
-
Maintain a clean hairstyle. Sweat and dirt can lead to tangling, so use shampoo free of parabens and sulfates while washing extensions. Before shampooing, untangle from roots to ends and wash from roots to ends.
-
After bathing or washing your hair, make sure it dries. Hair that is wet or damp can weaken the bonds or tape adhesive, which could lead to the extensions coming free from your original hair.
-
Brush with soft bristles. While removing tangles, soft bristles protect the tape adhesive. To prevent strain on the extensions, softly brush upwards starting at the ends.
-
Stay away extended exposure to the sun, chlorine, and saltwater. These may cause extensions to get dry and tangled by dehydrating them. When swimming, use a swim cap or tie your hair back. If any extensions become wet, wash and condition them right away.
-
Use conditioner on a regular basis. Conditioner strengthens the cuticle layer and provides shine. To avoid oily roots, concentrate on the mid-lengths to ends.
-
Do not wash your extensions every day. It might dry them out. Wash no more than three times a week, based on the substance used and thickness.
-
Dry hair completely before bed. Sleeping with damp extensions can pull or damage normal hair and result in tangling. Given that extensions are heat-proof, blow dry on low heat. At night, wear in a braid or low ponytail.
-
When not in use, soak extensions in diluted shampoo water. For ten minutes, move side to side to clean; do not whirl, since this will lead to tangles. Remember to comb out first.
-
Use cold running water to rinse your extensions. Cold temperatures prevent dryness while running water eliminates grime. Rinse clip-ins by gently pressing out the water, then pat dry permanent extensions before blow drying.
For even more expert advice, see Roxy Hair's "Styling Guide on using Clip ins"!
How to Remove Extensions Properly from Own Hair
You know there are times when it's time for a change with your hair extensions, but you're not quite ready to go to the salon. If done correctly, removing hair extensions at home can be a simple process. Take these steps:
-
First, gather up your tools - you'll need a mirror, some clips, a comb, and if you have bonded extensions, a removal solution.
-
Start by gently untangling your extensions and your own hair, working your way up from the bottom. For bonded extensions, use the removal solution to slowly release the adhesive, piece by piece.
-
Go slowly and carefully when taking the extensions out, using a comb or your fingers to gently separate them from your natural hair. Once they're all removed, comb through each piece to get rid of any tangles or debris.
-
After that, give your hair a really good shampoo and condition to clean it all up. Then, try to take a few days off from wearing extensions so your hair can have a chance to recover.
-
If you're ever unsure about the process or need help, don't hesitate to reach out to your hairstylist. They can guide you through the removal in a way that keeps your natural hair healthy.
Summary
The bottom line is, with a little know-how, you can totally rock hair extensions that look completely natural.
The key is using the right techniques to install them and seamlessly blend them into your own hair, no matter if you've got a weave, tape-ins, clip-ins, or any other style. Just make sure you're using high-quality materials, being gentle, and getting help from a professional stylist when you need it.
Follow all the tips we've gone over - picking the right extensions, blending them in, styling them properly - and you'll be able to switch up your look without anyone being the wiser.
With Roxy Hair's flawless, high quality extensions you can make your hair extensions dream come true. Prepare to draw attention when your hair appears and feels completely natural. Get yours now to see the Roxy difference for yourself!
Frequently Asked Questions (FAQs)
How long do Roxy Hair's clip-in extensions last?
Roxy's Remy human hair clip-ins can last 3 months to over a year with proper care. Just gently wash and condition them.
Can I color or style Roxy Hair's extensions?
Yes, you can color, curl, straighten - style them just like your own hair.
Do Roxy Hair®'s clip-ins damage my natural hair?
Nope, clip-ins are totally damage-free. No harsh chemicals, glues or tension - just clip and go!
How do I blend Roxy Hair's extensions?
Just brush through, style together, and use a light styler to help everything blend naturally.
Can I swim or workout with Roxy Hair's extensions?
Yes. But avoid excessive moisture, heat and sweat.