We all know how amazing clip-in hair extensions can make us look - instantly giving us that volume and length we've been craving. But when the summer heat hits, it's easy for those gorgeous locks to turn into a frizzy mess.
In this guide, we'll share all the tips and tricks you need to keep your clip-in extensions looking fly, no matter how high the temps climb. Who doesn't want to rock those luscious locks all season long, right?
We'll cover everything - from the best ways to wash and condition them, to the products that'll keep them silky smooth. With just a little bit of TLC, you'll be able to rock those clip-ins like the total boss babe you are.
Key Takeaways
-
Go for synthetic or real human hair (like Foxy Hair®) for a natural look and feel.
-
Match the extension length to your natural hair for a seamless blend.
-
Clip-ins instantly add volume and fullness - perfect if you've got thin or fine hair.
-
Pick a texture similar to your own for the most natural result.
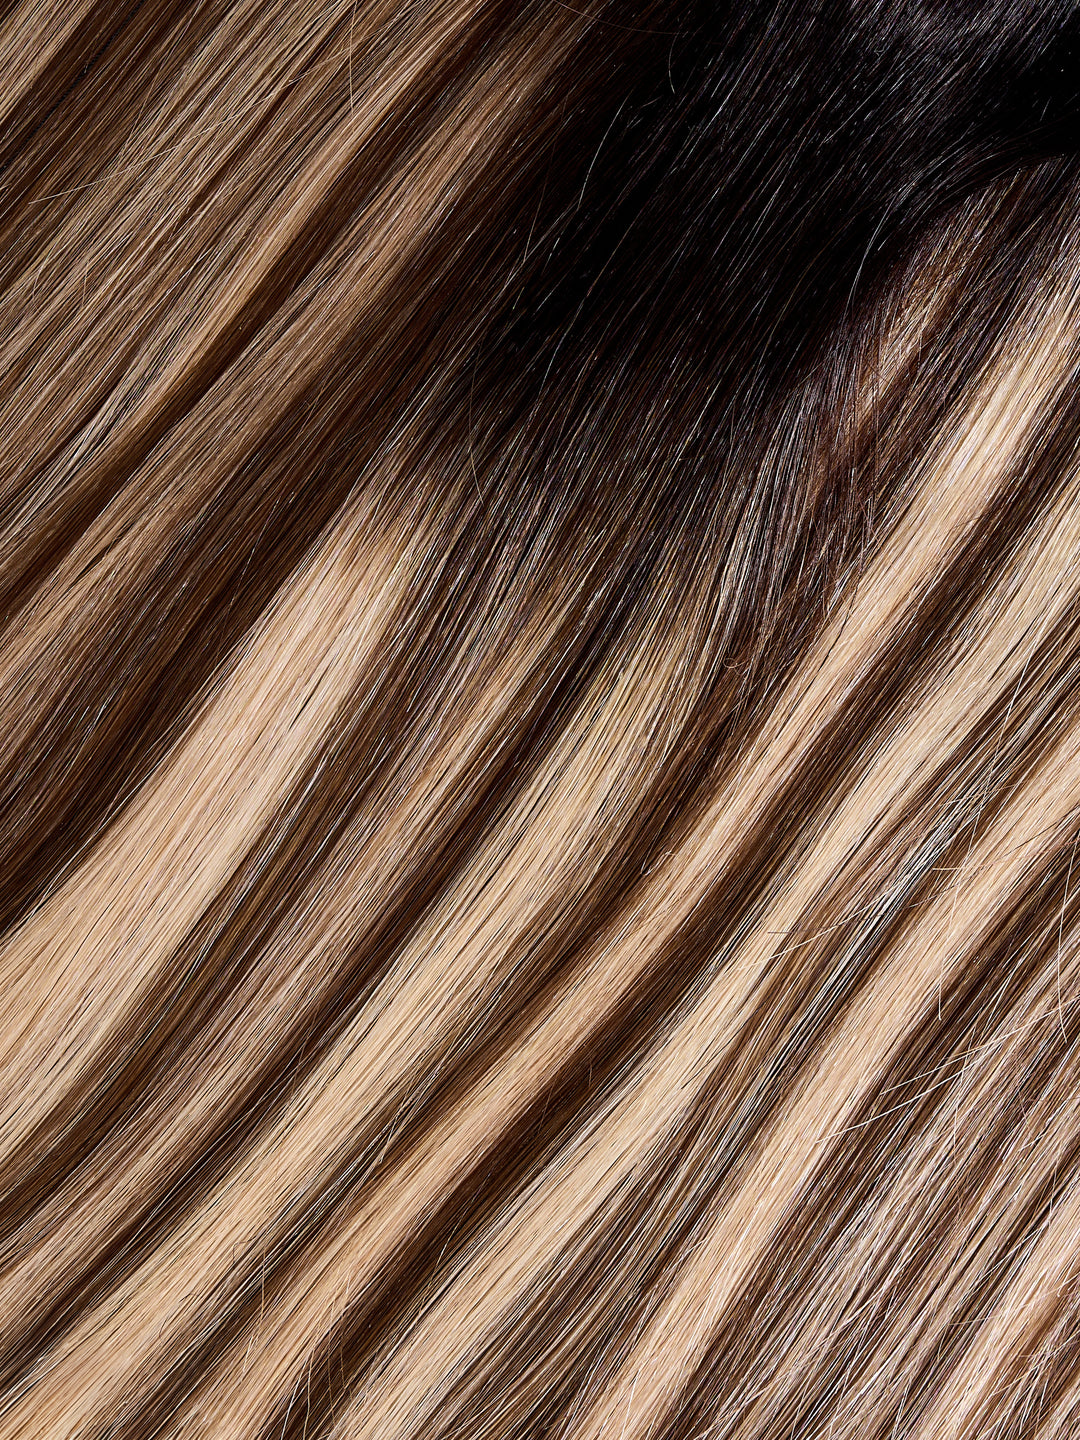
Choosing the Right Clip in Extensions
When you choose clip ins, it's not just about the color but knowing you have the choice of whether going for synthetic hair extensions or a Remy human hair extensions just like what we have at Foxy Hair®.
Choosing the Right Length
The great thing about human hair extensions is that they come in all sorts of lengths, from short to long. The length you choose will depend on your natural hair length. If you have short hair, you'll want to opt for shorter extensions that blend seamlessly with your own hair. If you have longer hair, you can choose extensions that are the same length or even longer. The key is to find a length that seamlessly blends with your natural hair.
Added Volume and Fullness
Clip-in extensions are great for instantly adding volume and fullness. Layer them under your natural hair, and the extra bulk creates the appearance of thicker, more voluminous locks. Style the extensions together with your own hair for an even more lush, voluminous look.
Best Extensions for Thin Hair
If you've got thin or fine hair, some extensions might be too heavy and cause breakage or hair loss. No bueno. Instead, go for lightweight options like seamless clip-ins or halo extensions. These lay flat against the scalp and won't weigh down your hair, so they're perfect if you're working with finer strands.
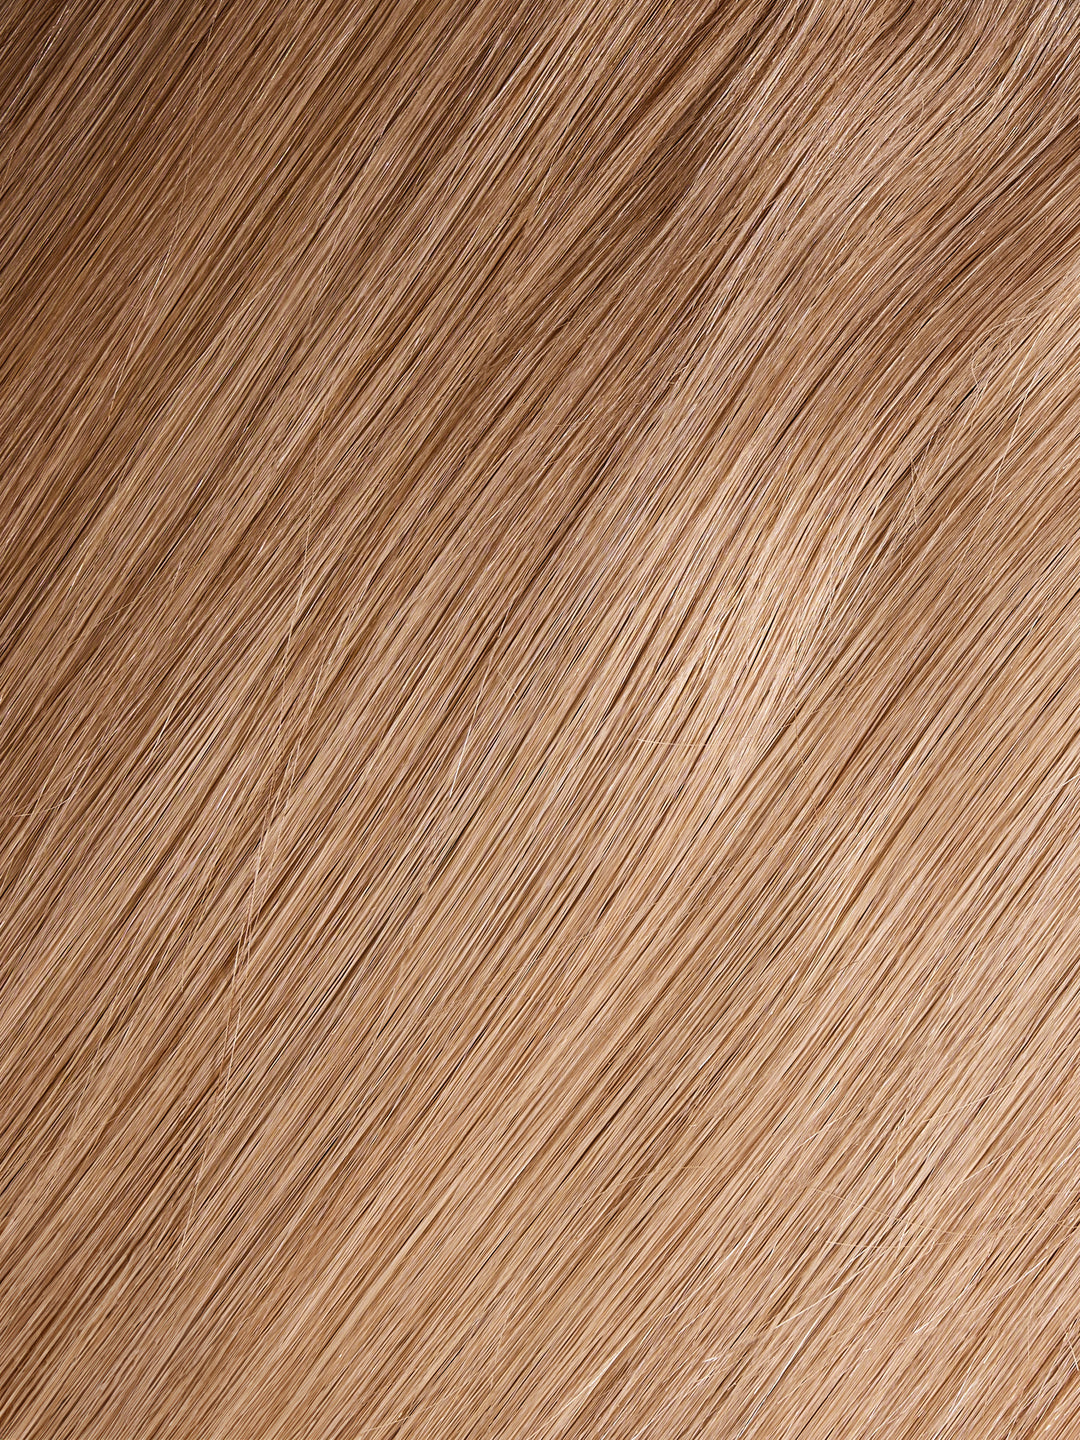
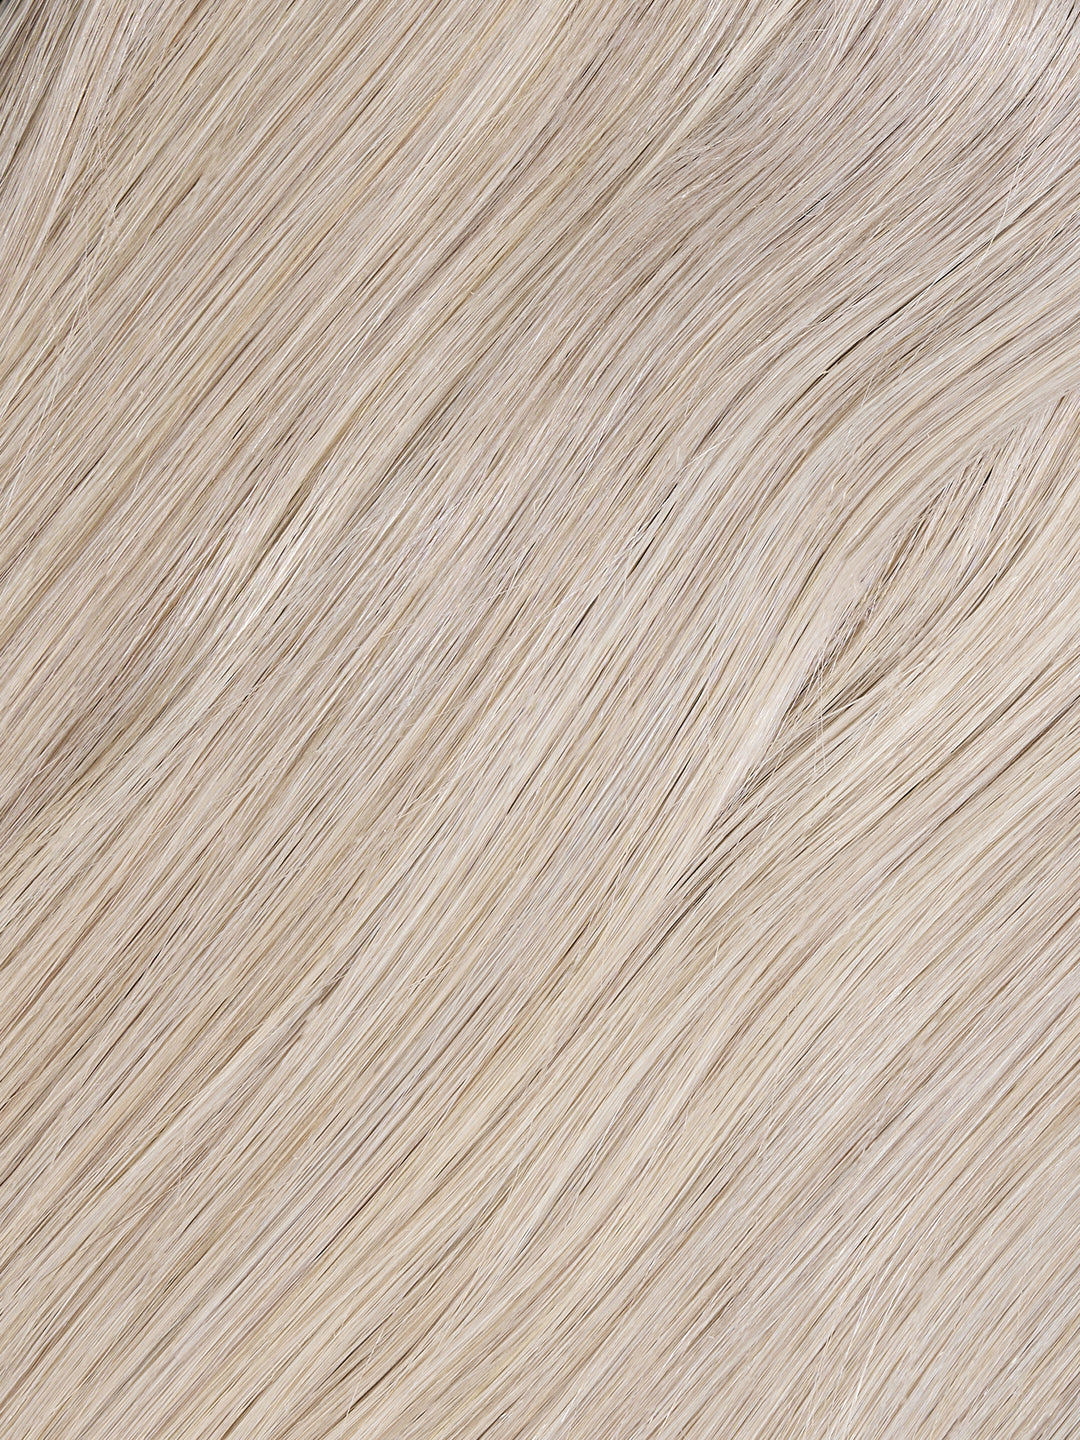
Matching Hair Texture
When it comes to extensions, matching the texture is key for that natural, blended look. If you've got curly or textured hair, go for extensions that closely match, like the ones from Foxy Hair® that cater to all hair types. Makes it way easier to find that perfect match.
Now, if you've got straight hair, it's a bit more straightforward since most extensions are designed for that texture. But still, make sure you're getting high-quality extensions that blend seamlessly with your natural hair.


Preparing your Own Hair
Preparing your hair is essential when starting with extensions.
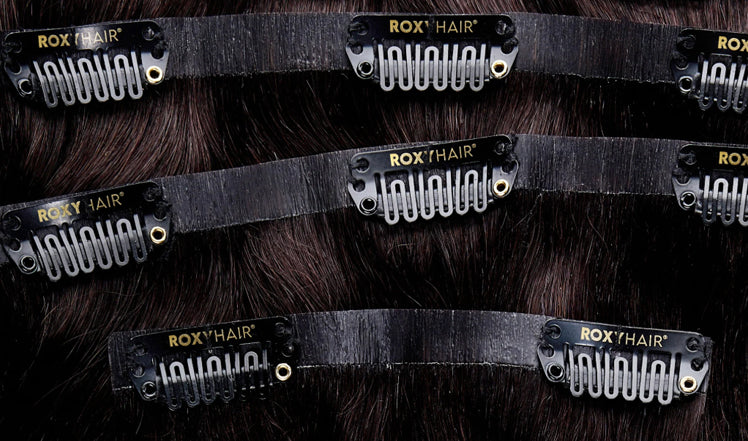
Properly Clipping In the Extensions
Let's get those hair extensions clipped in! First things first, gather up your supplies - you'll need the extension pieces, some hairspray, a couple clips, a mirror, and a rat tail comb. If you've got a second mirror, that'll make it easier to see the back of your head.
Okay, let's section off your hair. Take the back end of that rat tail comb and make a line from the middle of your ear, straight back to the middle of your head. Try to keep it as straight as possible - use that extra mirror if you need to. Clip up the top section to separate it, and do the same on the other side. You can clip the bottom sections aside too to keep things tidy.
Pro tip: For a quicker method, place your finger behind the middle of each ear and trace a line along your scalp until your fingers meet. Separate the hair above that line and clip it up.
Now let's get that first mid-sized extension piece in place. Hold it up to the part you just made to figure out where it should sit - centered, without overlapping your ears. Brush out the bottom section there, give the roots a little tease to help grip the extension, and give it a light spritz of hairspray.
Open up all the clips on the extension and spray a little hairspray on each one. Holding the piece by both ends, bring it towards the back of your head and feel for that part you made. Secure the middle clip first, then pull it taut and scoop the outer clips into the sides, clipping them closed.
Re-section your hair about two inches above that first piece - around your temples and the tips of your ears. Make sure that first extension is completely covered. Repeat the process with the second mid-sized piece in this new section.
For the largest piece, make a new part an inch above the last one, ensuring you have enough hair on top to fully cover it. Follow those same steps - tease, spray, attach the middle clips first, then the outer ones while holding it taut.
Let down that top section and give your whole head a gentle brush through. Check that no hairs are stuck in the wefts and adjust anything that needs fixing before moving on.
Next are the side pieces. Part your hair following back from the middle of one eyebrow in a straight line. Place that small extension where it will blend seamlessly, likely a bit further back than you'd expect. Tease, spray, attach those two clips, pulling it taut.
Repeat that parting and placement on the other side, and you're nearly done! Let everything down, do any touch-ups, and finger brush to blend the extensions with your natural hair. From there, you can style it all however you'd like - straight, curled, whatever works for you.
Step-by-step Maintenance Routine for your Clip ins
Here are some steps when caring for you clip in extensions:
Brushing
First up, always brush them out thoroughly before getting them wet. Start from the bottom and work your way up to avoid any stubborn tangles. Use a wide-tooth comb or a soft bristle brush - nothing too harsh.
Even better, invest in a loop brush made specifically for extensions. The looped bristles are gentle and prevent snagging or excess shedding while brushing out.

Once they're tangle-free, bundle up those wefts neatly, stacking them just like they came. This keeps the clips away from the hair during washing so nothing gets caught.
Washing
If you have your Foxy Hair® extensions, it's important to care for them properly so they stay looking beautiful. With the right care, these 100% Remy human hair extensions can last anywhere from 3-6 months, or even up to a year or longer.
Since the extensions don't receive hair's natural oils from your scalp like your own does, you actually don't need to be wash hair extensions as frequently. As a general guideline, washing them less will help them last longer. Only wash when there is significant product build-up.
A good sign it's time for a wash is if the permanent hair extensions are becoming difficult to style smoothly. We recommend washing them after around 30 wears or once monthly, whichever comes first.
The key is being gentle, over-washing can lead to dryness and damage over time. Stick to a light or gentle shampoo made for extensions, and take care not to rough up the hair cuticles too much.
Shampoo and Conditioning
Always use a good quality, sulfate-free and alcohol-free conditioner before and after shampooing. You can even skip the shampoo sometimes and just co-wash with conditioner.
When shampooing, wash the wefts one at a time to prevent tangling and make sure each one gets thoroughly cleaned. If you're short on time, you can bundle them together and wash carefully as one piece.
For blondes, use a purple shampoo to help neutralize brassiness and keep those bright, ashy tones fresh.
As you wash each weft, hold it at the top, submerge in water, and gently work in the shampoo with light strokes. Avoid vigorous rubbing. Rinse fully after 3-5 minutes.
Once shampooed, apply a generous amount of conditioner from top to bottom on each weft. Let it soak in for 5-10 minutes before rinsing out thoroughly.
The final key step is using a deep conditioning hair mask or treatment. Slather it on, bundle up the wefts, and let it deeply moisturize overnight.

Rinsing
It's super important to make sure you get all that conditioner out on your hair extension, ya know? Listen up - don't make the mistake of only rinsing halfway. You gotta get all that product residue out, or it'll weigh down the extensions and make them look greasy.
When you wash, make sure to give each weft a thorough rinse, leaving no leftover conditioner behind. And here's a pro tip - finish up with a cold water rinse. That seals up the cuticles and locks in the moisture, leaving your extensions looking extra shiny and healthy.
Drying
When it comes to drying your Foxy Hair® clip-ins, you gotta be gentle. Never rub them with a towel, that's a big no-no. Instead, just gently squeeze out the excess water and let extensions air-dry whenever possible.
If you do need to use heat tools like a blow-dryer or curling irons, make sure to use a heat protectant spray first. When blow-drying, start at the roots and work your way down, always keeping the airflow going in a downward direction. This helps smooth out the cuticle and prevents tangles. And remember, cool settings only - no blasting them with hot air, that's just asking for damage.
Removing
To remove your clip ins from Foxy Hair® make sure you have the right tools on hand - a tail comb to gently separate your hair, some clips or ties to keep your natural hair out of the way, a specialized extension brush to detangle, and even an extension remover if you used adhesive. Having these essentials ready will make the whole process much smoother.
Next, start by locating the clips on your extensions, which might require a handy mirror to see the ones in the back. Then, divide your hair into sections - one above and one below. Clip up the top part so you can focus on the bottom first. Take that tail comb and carefully slide it under the weft, near the clip. Slowly open the clip by pressing down on the sides, being extra gentle to avoid any tugging on your natural hair. Once the clip is open, gently slide it out. Repeat this for each clip in the bottom section.
After that, use your extension brush to work out any tangles or knots, starting from the ends and working your way up. This will help keep your extensions in great shape. Then, be sure to store them properly in their original packaging or a designated container to maintain their quality until next time. Finally, tackle the top section using the same careful techniques until all your clip-ins are out.
How to Store your Clip in Extensions
After washing and using your extensions in different events, it's time you let them rest. First thing's first - make sure all the clips are closed up tight after taking the extensions out. Then, grab your Loop Hair Extensions Brush and give each weft a gentle brushing, starting at the ends and working up to the roots.
Once they're all nice and tidy, pop them in a storage box or case. Now, the key is to keep them in a cool, dry place, away from direct sunlight - think closet, cabinet, or dresser drawer. And here's an important one - make sure they're completely dry before storing. You don't want any moisture hanging around and causing mold or bacteria.
Tips for Long-lasting Clip ins
Clip-in hair extensions are one of the most budget-friendly ways to achieve a fuller, longer look which may be the reason why it is so popular until now. The best part about having clip-in hair extensions is the ability to switch up your look whenever you feel like it. Here's how you can make them lasts long (compared to your relationship jk)
-
Brush Extensions Regularly: Just like your natural hair, your clip-ins need to be gently brushed every day to prevent tangles and knots. It also helps your scalp spread all the hair's natural oil.
-
Wash Wisely: You can wash your clip-ins, but be gentle and use cold water to avoid damage. Stay away also from using shampoos that has harsh chemicals.
-
Avoid Heat: Steer clear of blow-drying and hot styling tools like hair dryer to keep your clip-ins looking their best. If you cannot avoid using, make sure you put it in low heat setting. Let you clip ins dry naturally if possible.
-
Moisturize Regularly: Condition and moisturize your clip-ins just as often as your natural hair, if not more. Use a leave in conditioner and any other hair care products that is good for the extension hair.
-
Store Carefully: Use a dedicated storage product or make sure to lay your clip-in hair strands flat to prevent tangling and matting.
Pros and Cons of Clip in Hair Extensions
Pros:
Versatility: Clip-ins let you change your style anytime. Long locks for a special event? Clip them in. Short and sassy today? Take them out - easy!
Perfect for Beginners: Clip-ins are the way to go if you're new to extensions. They're a breeze to apply and remove, so you can test them out.
Color Without Damage: Craving highlights or bold hues? Clip-ins let you experiment with color without harming your natural hair.
Long-Lasting Investment: With proper care, your clip-in extensions can be a go-to for a long time. Think of them as a smart beauty investment.
Maintenance Matters: Treat your clip-ins right, and they'll last. Gentle brushing, proper storage, and occasional washing will keep them looking fresh.
Cons:
Weight Concerns: Some people find clip-ins a bit heavy or uncomfortable at first. But give it a few days, and you might get used to the extra volume.
Short or Fine Hair: If your natural hair is on the shorter or finer side, clip-ins may not be the best fit. The clips could show, and the look might not blend as well.
Perfect Application: Proper application is key for comfort and a natural look. The experts can show you how to get it right.
Exploration Limits: While clip-ins are great for trying new styles, they may not be suitable for dramatic, long-term changes to your look.
Worth a Try: If you're curious about extensions, clip-ins are a great place to start. They're temporary, so you can test them out without a big commitment.
Summary
Just a quick wrap-up, caring for your Foxy Hair® clip-in extensions is a breeze. Just follow a few simple steps for washing, drying, and storing, and those luscious locks will last for months.
The best part? Clip-ins let you switch up your look anytime, no permanent changes needed. So why wait? Try out Foxy Hair®'s amazing extensions and experience the confidence and versatility they can bring to your everyday style!
Frequently Asked Questions (FAQs)
Do I need to wash new Foxy Hair® extensions first?
Nah, you can use them straight out of the package. But a quick gentle wash is a good idea to remove any extra product.
Why alcohol/sulfate-free products?
Harsh ingredients like those can really dry out and damage extensions. Foxy Hair® recommends gentler, sulfate-free and alcohol-free formulas to keep them looking fresh.
How often should I wash Foxy Hair® clip-ins?
Aim to wash them about 2 times per week. Overwashing can cause more harm than good, so stick to this regular schedule.
Can I use hot tools on Foxy Hair® extensions?
You can, but go easy! Always use a heat protectant spray and keep the temps on the lower side to avoid damaging the hair.
How do I store my Foxy Hair® clip-ins?
Store them in their original packaging or a dedicated hair extension case in a cool, dry place away from sunlight. And make sure they're fully dry before storing.